Developing and launching a messenger bot is all well and good, but it does little for your marketing if no one is using it. Here we look at how to get your messenger bot in front of fans using different tried and tested techniques of varying complexity.
_____________________________
Guest post by Veselina Gerova of The Message
Once you’ve launched your Messenger bot, you have to start thinking how to get fans to connect with it. Getting your Messenger bot in front of fans is the first step to unlocking 100% delivery and sky-high open rates that Messenger can deliver. We’re talking numbers above 90%!
Facebook is constantly improving Messenger and the folks over there are always testing the best ways to get your Messenger bot discovered so you can engage your fans through Messenger.
In this article, we focus on some of the tried and tested ways of getting your Messenger bot out there ???? Some require a little more implementation to put in place than others (we’ve named those PRO tips), but regardless of that, there is plenty you can take away from this article.
1. Sharing your bot
A great way to raise awareness about your bot is to get fans to share it with others.
What is it?
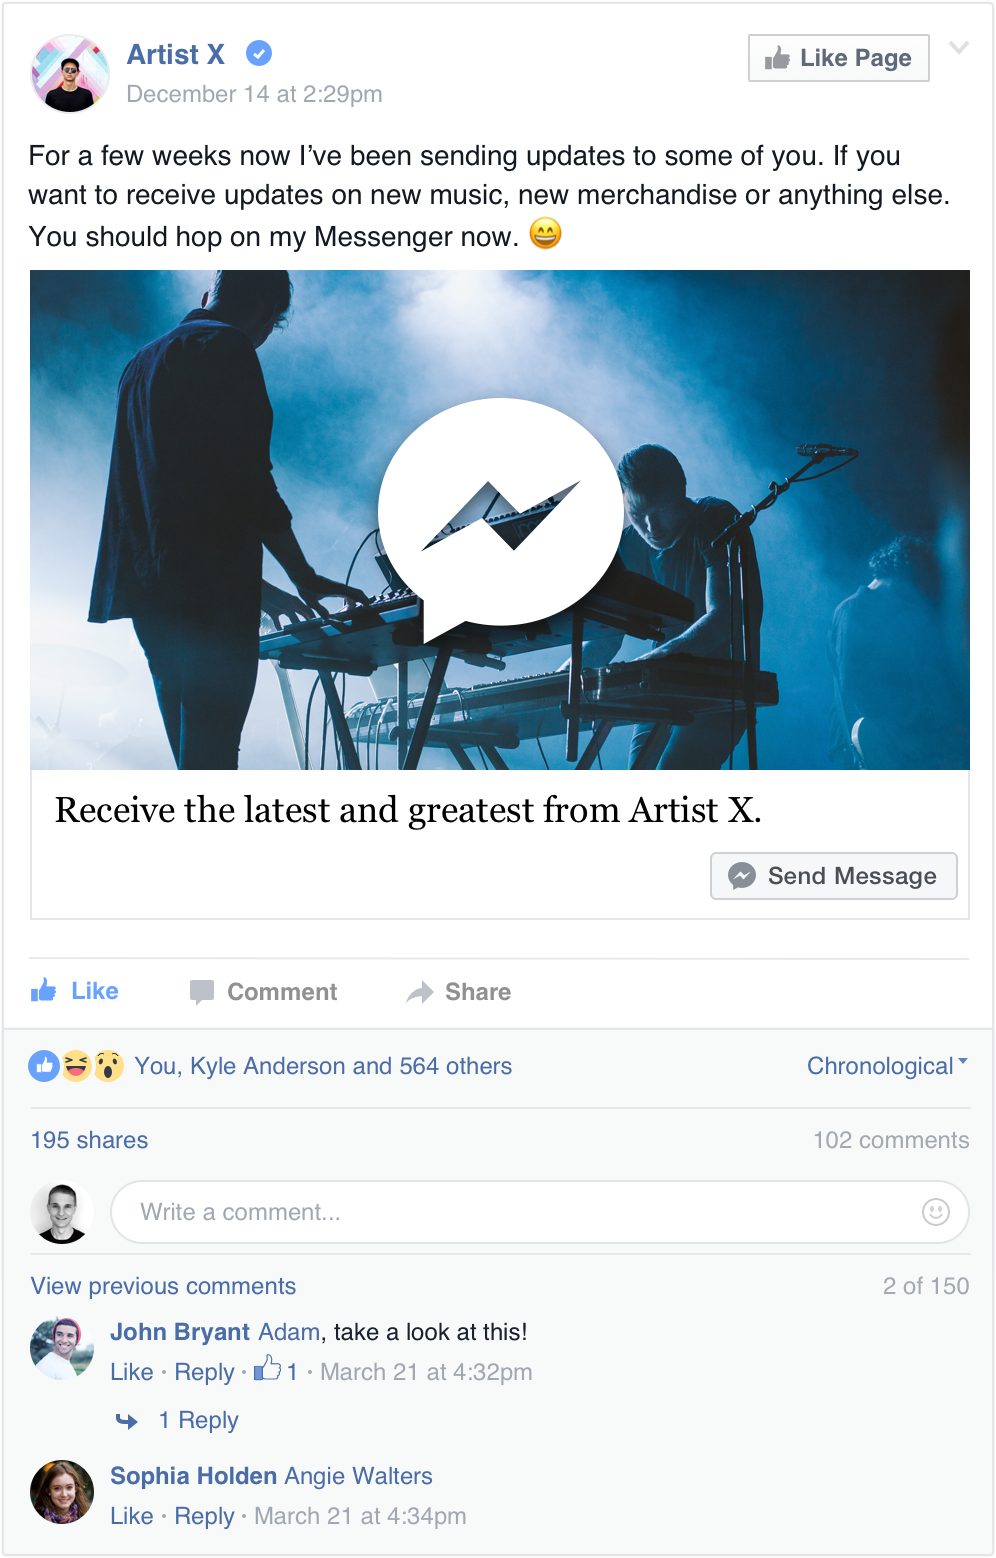
You can send a friendly message to your fans urging them to share your bot with others! It’s a great way to ask them to spread the word about the cool stuff you’re already doing. They might have friends or colleagues that are really into your music and/or your content but they might not know that you have a bot and that you share exclusive stuff on there.
Where can you find it?
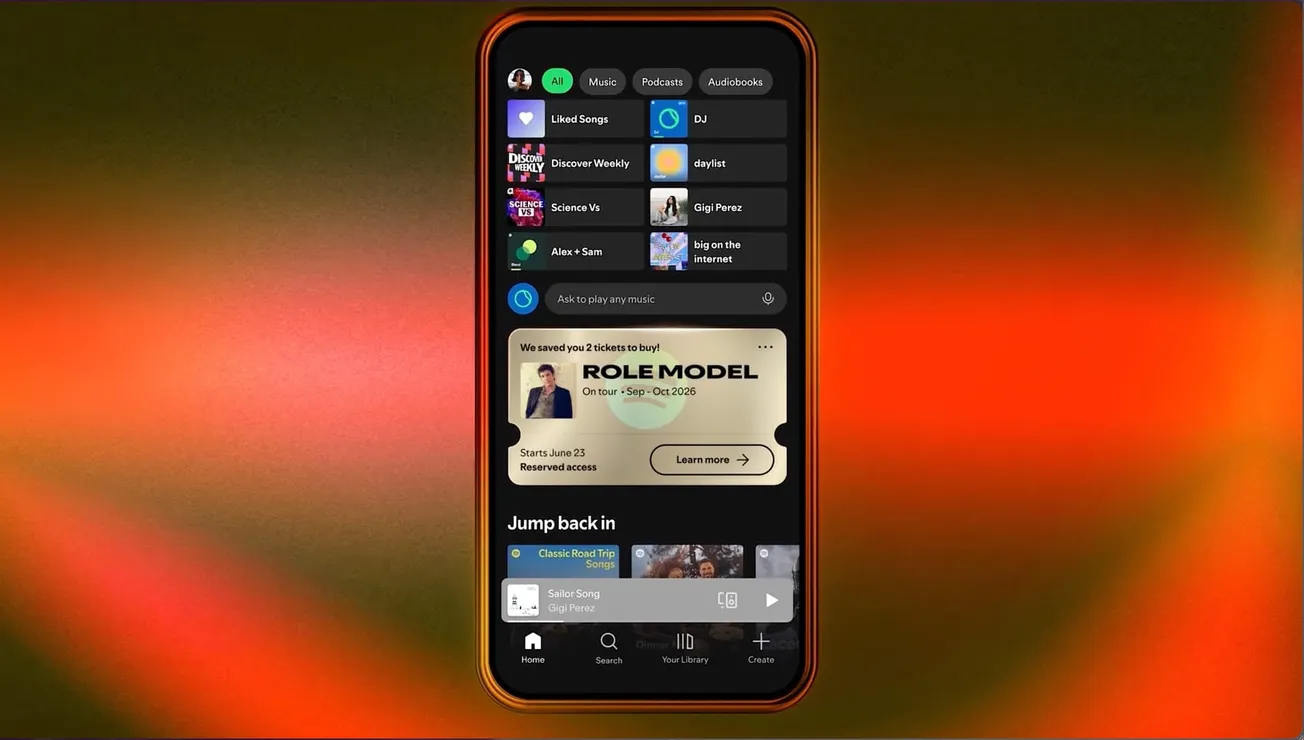
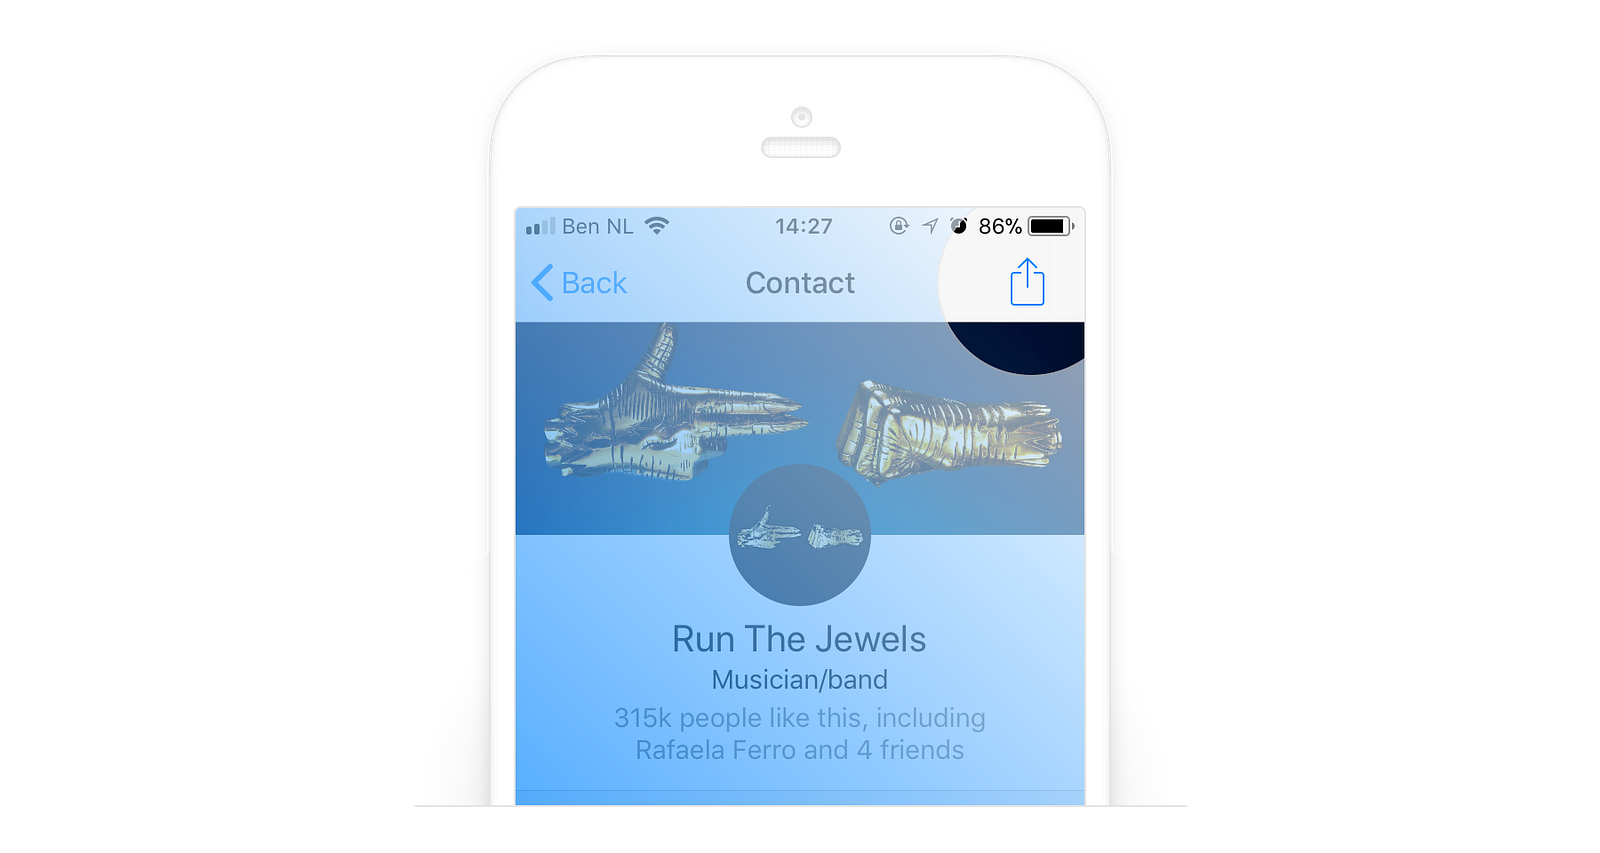
On Android, fans can tap on the Information (I) / settings icon at the top of the chat on mobile (top right corner), scroll to the bottom and then tap on “Share” to share your bot with their friends.
On iOS, fans can tap the bot title at the top of the conversation and then click on the share icon in the top right corner.
2. Discover Tab
What is it?
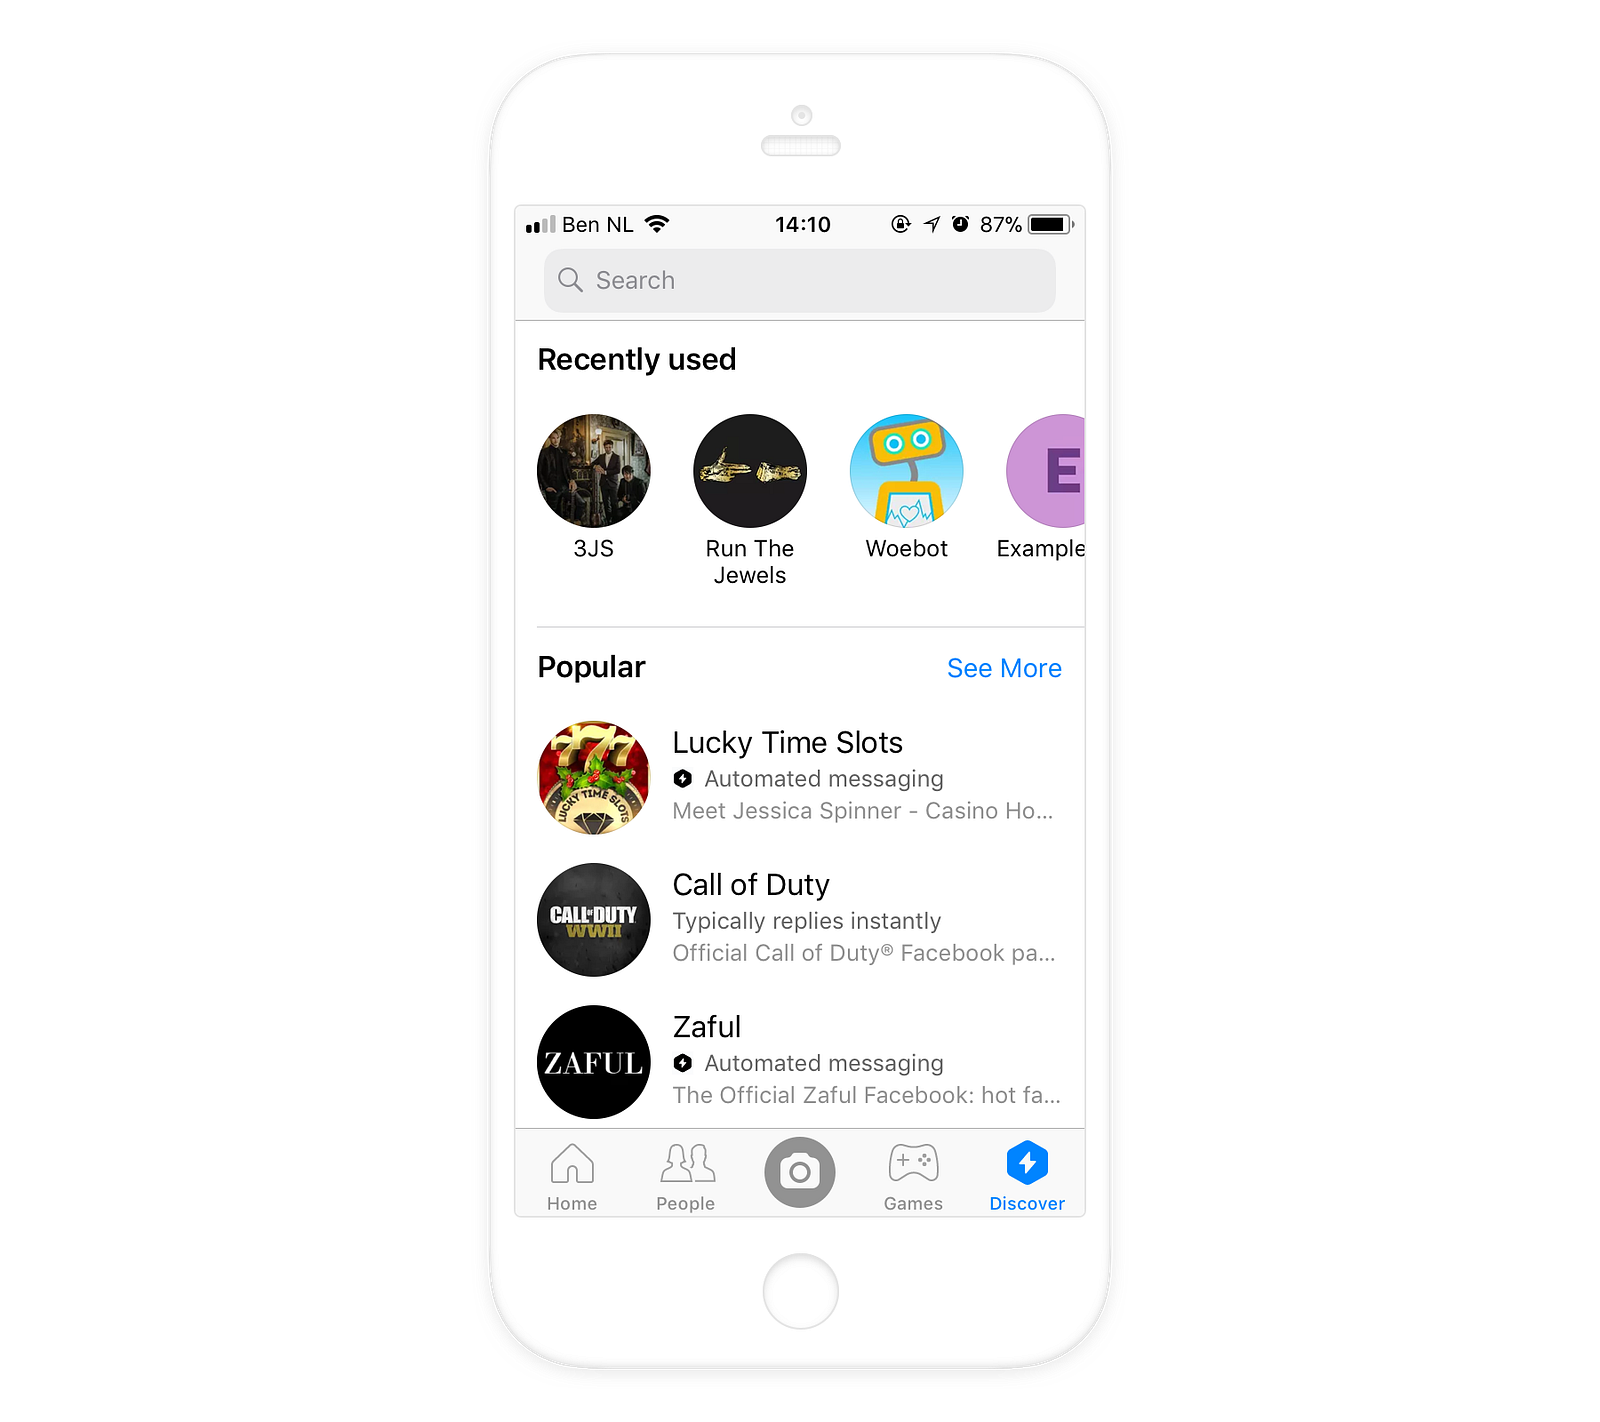
Facebook explains in detail: “The Discover tab is where people can browse and search for Messenger bots, as well as nearby places and businesses to message. Results in the Discover tab are personalized to each person, and organized by category, recent activity and featured experiences.” Basically, it’s a great way to gain some visibility for your bot.
In any case, you should enable the settings that allow your bot to be found in the Discover tab.
Where can you find it?
You can turn on this setting by doing the following:
STEP 1: Go to “Settings” on your Facebook Page
STEP 2: Choose “Messenger bot” platform
STEP 3: Set Discover Visibility to “Show”
STEP 4: Click on “Set Up” on Discover Preference
STEP 5: Fill out the form that appears
3. m.me link
All it takes is one click to land on your bot!
What is it?
Once a fan clicks on your m.me link, they will immediately find themselves on your Messenger bot.
Want to spread it around?
Use this link in your newsletter, put it in your Instagram and Twitter bios, include it in your email signature, refer to it in articles you write, mention it on your podcast, make a FB post about it (either in post form or a video). There are plenty of ways you can go about this.
Where can you find it?
Generate your m.me link by inserting the name of your FB page after the m.me part of the URL: e.g. https://m.me/iampopin.\

4. Messenger Codes
What is it?
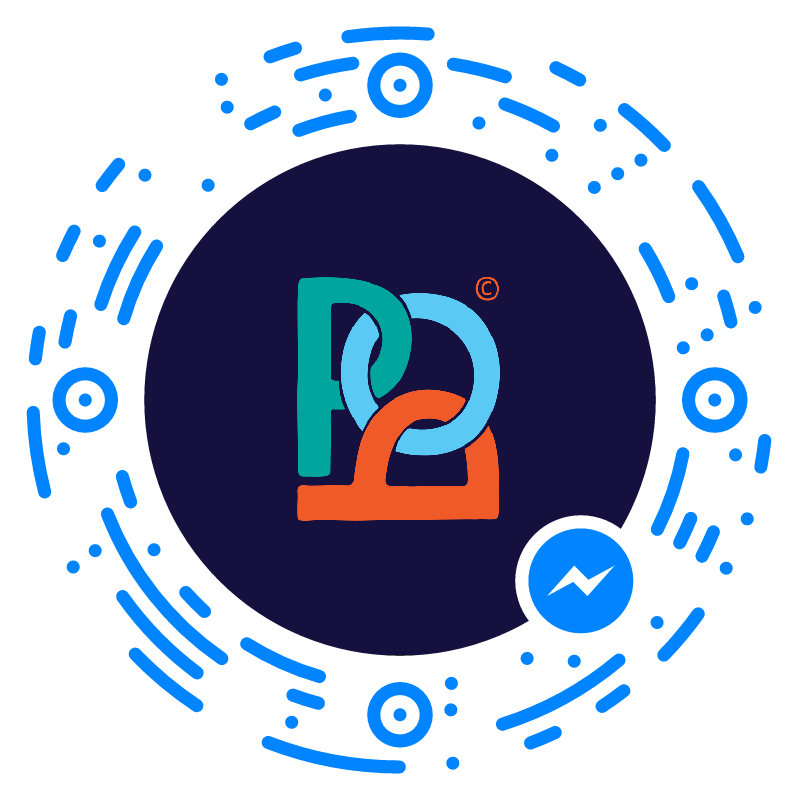
Messenger Codes are a very visual and convenient way to get people on your bot. Messenger Codes work on the principle of QR codes — someone just has to scan them to get on your Messenger bot.
That’s why they’re great for getting people onboarded even in offline situations. If you have an ad in a print magazine, a banner somewhere or even a projection on a wall, people will be able to scan the code with their phones and get on your Messenger bot. Handy!
Where can you find it?
STEP 1: Go to your Page’s Messages or Inbox section
STEP 2: Click on the little info icon at the left bottom part of the page
STEP 3: Choose Messenger Code
There it is! You can download it in different sizes.
And if you’d like to explain to people how to scan your code, you can let them know that when they’re in their Messenger, they can click on their photo in the top right corner and then tap on their own code. Once they’ve done that, they can click on “Scan Code” and voila!
5. Click-to-Messenger Ads (PRO tip)
What is it?
This is an incredibly useful strategy to get more people on your bot. The Click-to-Messenger Ads are ads that can appear on users’ Facebook and Instagram feeds. By clicking on the ad, the user will automatically end up on your Messenger bot.
Once fans have clicked on “Get Started”, they can explore all the options you provide them with, like checking out your latest video for example, browsing your merch and anything else you decide to include. This is a sure way to get significant exposure accompanied by very high levels of engagement.
Where can you find it?
STEP 1: Go to your Ads Manager & Choose Traffic or Conversions
STEP 2: Next, choose “Messenger” as your destination
STEP 3: Decide on your audience & your budget
STEP 4: Choose which Page you want to do that for (Identity)
STEP 5: Get creative!
You can now start putting your ad together
A) First, choose a format
B) Then, decide on images for your ad — You can create up to 6 adverts at once by uploading multiple images
C) “Ad Setup” — Here, this needs to be set to “Send Message”
D) Message Setup
There’s plenty to experiment with — welcome message, main message (with/without image/video or only text)
NEXT: Customer Actions
- Choose between Quick Replies or Buttons
- Add labels
- If you’ve chosen Buttons, you have to decide between “open a website” or “send a postback”. If you choose “open a website” you can guide users from the Facebook Ad to Messenger and then to a website. In this scenario, you onboard fans to Messenger, gain a fan and then redirect them to a website.
- The other option is to set up a postback for the button which can trigger the introduction of your bot. This could be a very subtle way of onboarding users. The reason we recommend setting up that button to trigger the intro by postback is because the Facebook Messenger ad will immediately show the messages you’ve set up in the Ad Manager, it will not show your introduction (unless you do it with a postback button).
You can use the following postbacks:
For the intro: GET_STARTED
For browse: BROWSE
Keep in mind that these are case-sensitive, so you need to use capital letters.
- Lastly, add a URL if you’d like people to go to a specific website
STEP 6: “Confirm”!
And you’re good to go.
6. Message Us Plugin (PRO tip)
What is it?
Use the “message us” plugin on your website to automatically place a button that opens a conversation with your Messenger bot.
Where can you find it?
Go to your POP Dashboard, Click on Promote. This is where you can find your embed code. By using it, you’ll be able to add a Message Us button to your website. This will directly take people who clicked on it on your bot.
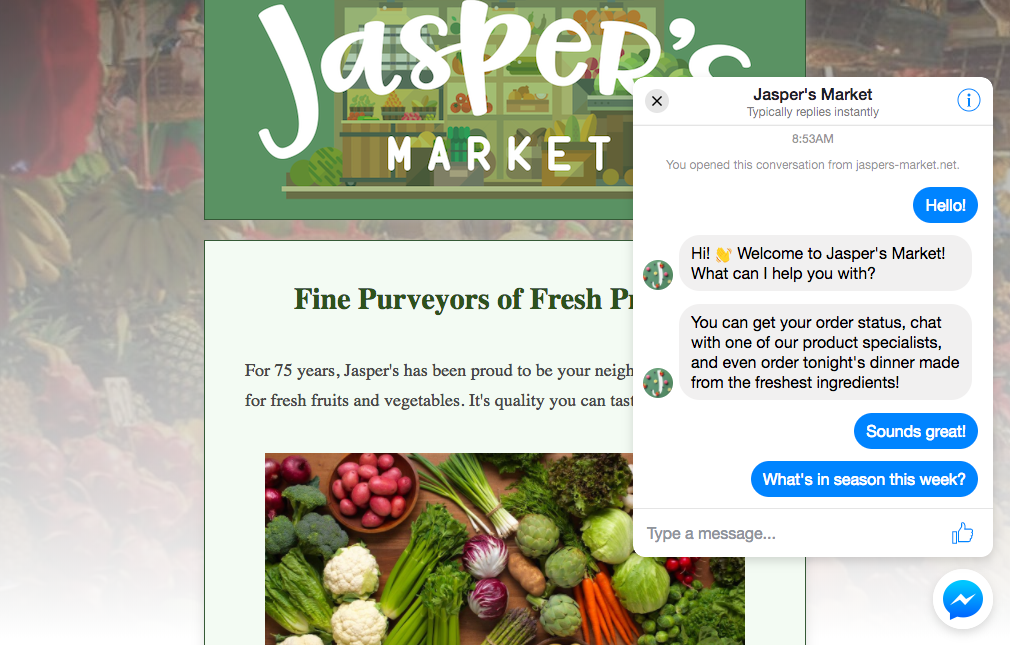
7. Customer Chat Plugin (PRO tip)
What is it?
Recently, Facebook made it possible to have a Messenger chat plugin on websites. That means that if you’d like to get people who visit your website engaging with your Messenger bot, you can do that with the plugin.
Also, if your fans have previously had any interaction with you on Messenger, this history will be pulled up automatically once someone gets on your website Messenger plugin.
Facebook explains in detail: “[the plugin] automatically loads recent chat history between the person and your business, meaning recent interactions with your business on messenger.com, in the Messenger app, or in the customer chat plugin on your website will be visible”
Where can you find it?
It is best to follow the steps that the people behind developers.facebook.com recommend in order to set this up for your website. This is where you can find the full step-by-step guide:
Edit descriptiondevelopers.facebook.com