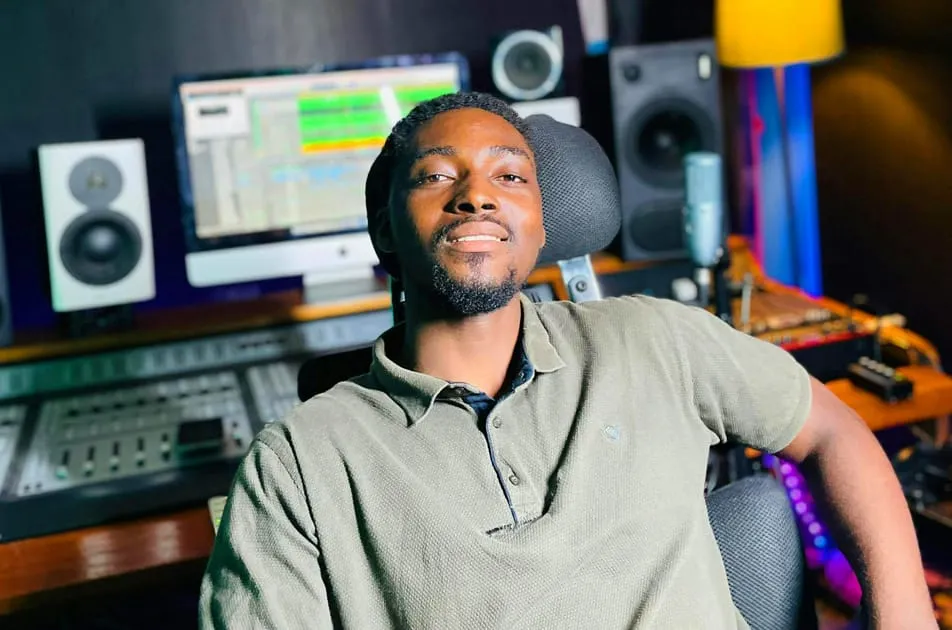
By Russ Robinson of Tampa Band Photos. a commercial music photographer. He does shoots all over the US, and offers photo advice for musicians on his blog and Twitter.
For many people, being in front of a camera yields roughly the same
amount of enjoyment as getting a root canal. It can be an awkward,
stressful thing to do– especially if your photographer fails to (or
simply doesn't know how to) put your mind at ease by eliminating your
pre-shoot anxiety. However, it really doesn't have to be this way.
In fact, if you speak to any of my past clients, you'll see that doing a photo shoot can actually be quite an enjoyable experience. Honestly, it really all comes down to having a rock-solid game plan that's tailored to your individual needs as an artist. So if you can get all the little details worked out in advance, then your photo shoot will be an absolute breeze. Here's how:
1) Choose the Right Photographer
Think all music photographers are basically the same? Think again. The vast majority of them only shoot musicians part-time, and usually fill out the remainder of their schedules with things like weddings, high school senior portraits, events, sports, and a variety of other gigs. In my opinion, this severely limits their ability to fully understand the needs of today's working musicians when it comes to marketing and self-promotion. I've said it many times and I'll say it again– having stellar promotional photos is HUGELY important to your success in today's music industry, because they represent the first (and often only) chance you'll get to make a big impression.
Here's the deal…you really wanna make sure that the person you choose to shoot your promos has: (1) a proven track record in commercial music photography, (2) a photographic and retouching style that's a good match for your music, and 3) a personality that you really "mesh" with. If you have doubts about any of t
hese things, I highly recommend that you check out my handy step-by-step guide to choosing the right music photographer.
2) Understand What Your Needs Are
It's super-important to have some idea of what your needs are before the shoot, in terms of how you plan to use the resulting images. For example, the qualities of a great album cover are usually quite different than those of a press kit shot, which in turn can be quite different from a great website header. Each situation calls for photos that meet certain design conventions, size limitations, orientation (portrait vs. landscape), as well as overall mood and style. Again, this topic is covered in greater detail in the blog post I mentioned above.
3) Meet Your Photographer in Person
I meet with every single one of my clients prior to each shoot, for several reasons:
First of all, it gives me an opportunity to show them around my studio, which makes it a much more inviting and comfortable place to be when the shoot date rolls around.
Secondly, it helps me build rapport with them, which always translates into a much more relaxed and productive photo shoot.
Thirdly, it allows me size the client up, both in terms of their overall appearance as well as their body language, so that I can be sure to use posing, lighting styles, and camera angles that will make them look like a flat-out rock star.
And lastly but perhaps most importantly, the face-to-face meeting allows the client and me to establish clear objectives for the shoot so that at the end of the day, there are no "surprises" and everyone walks away with exactly what they need.
Bear in mind that most music photographers out there won't bother putting so much effort into ensuring that the photos are a perfect match for your unique personality, brand, and music. But that doesn't mean you shouldn't hold their feet to the fire and demand more one-on-one attention!
Here's the reality– anybody out there with a $500 Best Buy camera can give you reasonable-looking photos……and that'd be perfectly fine if all you needed to get noticed in today's ever-crowded music industry were a few average snapshots. But the thing is, you need WAY more than than that to have any chance at turning heads. You need amazing, mind-blowing photos that not only demonstrate your unwavering commitment to success, but also your willingness to make whatever sacrifice(s) necessary to achieve it.
Simply put: If you wanna be a rock star, you better look the part.
4) Plan for the Shoot
Everyone's needs are different, of course, but here's a general list of things that you will probably want to consider:
Wardrobe & Styling– I generally advise my clients to bring between 4 and 6 complete outfits– one or two that might be considered "formal", a few that they might wear for live shows, and then one or two "personality" outfits that we will typically discuss beforehand and tailor the lighting/location/poses to match.- Makeup– For female artists or groups with a female lead, I always bring one of my makeup artists (MUAs) to the shoot. Sometimes I'll do this for all-male groups as well, since the amazing MUAs I work with really know how to cover up skin imperfections in a completely transparent and unnoticeable way, ma
king my job much easier when the retouching phase rolls around.
- Location/Backdrop– Studio shooting is generally preferable, because you're not dealing with the elements (heat, cold, rain, etc), and the lighting is completely controllable. However, unless your photographer is really handy with Photoshop, this option might be a bit too limiting– especially if you're seeking "atmospheric" shots where the location is an integral part of the overall look and feel. Regardless, these things are definitely important to consider, because they can have a huge impact on the final product.
- Shot Selection– Unless you're 100% crystal clear on exactly what type of shots you need, I highly recommend mixing things up and going for some headshots, 3/4 shots (mid-thigh up), and full-length shots. This will provide you with maximum flexibility when it comes to choosing which shots you want, and may even pay dividends down the road if your needs completely change for whatever reason. Also, if you're in a group, I highly recommend taking some shots of individual band members by themselves– these are great for things like "Bio" pages on websites and profile pics on social networks.

5) Do the Shoot
Hopefully at this point you've got all your ducks in a row, and you're ready to proceed with the actual shoot. Assuming you and your photographer have truly done your homework, this part should be an absolute blast. Just try to relax and go with the flow, and trust in your photographer's ability to make you look amazing. After all, that's what you're paying them the big bucks for, right?
6) Grab Your Photos and Conquer the World
There are a number of things to think about once you get your photos in your hands, so don't go nuts and start flinging them to the four corners of the globe just yet. You need to plan out a strategy to release them in the most effective manner, meaning that you want to get as many eyeballs on them as possible. Here's how:
Don't let the photographer steal your thunder– Believe me, as a music photographer who's constantly churning out new stuff, I'm always super-stoked to release my latest promo images on social media sites, just so I can sit back and watch people's reactions (good, bad, or indifferent) roll in. However, I also realize that if I beat my clients to the punch and post new images before they have a chance to, then I'm essentially taking away from their ability to make a splash with fans.
This is something that I take very seriously, because I am 100% dedicated to helping my clients succeed in the music industry, so I always do everything I can to ensure that they receive the maximum return on their investment with me. If that means being patient and holding off on posting new images for a day or three, then so be it. It's the least I can do. And you should expect the same level of dedication from your photographer.
Twitter– Discussing all the different strategies for marketing yourself effectively on Twitter is well beyond the scope of this article, so I'll just focus on what you need to know when it comes to releasing new promo images:
First of all, I believe proper etiquette dictates that you should "tag" your photographer in any tweet related to the photo shoot (EX: "Had an amazing shoot with @TampaBandPhotos and can't wait to share the new pics with ya'll!").
Secondly, you wanna be sure to time your tweets very carefully so that the maximum number of people will see them. The way I recommend doing this is to use a free utility called Tweriod, which will analyze your entire followers list to see who's usually online at certain hours of the day. You can then use this information to tweet at the optimal times and thus maximize your visibility.
If you do end up trying Tweriod, but don't want he hassle of having to be in front of your computer during the times Tweriod suggests that you should tweet, there's another free app called HootSuite which will allow you to schedule tweets automatically. As far as how frequently you should tweet, I recommend doing it about 2-3 times a day for 2 days (this applies to each new promo image). Any more and you'll risk annoying your followers; any less and you'll miss out on some much-needed exposure.
Facebook– Once again, this topic is much too broad to cover in a single article, so let's focus on best practices for uploading new promo shots. First off, as mentioned in the Twitter section above, you need to post your photos when most of your fans are online. Facebook rewards posts with the highest fan engagement (likes, comments, and shares) by allowing them to show up in more people's News Feeds. So if you choose your posting times right, the number of eyeballs you'll get on your photos will increase exponentially.
You may not be aware of this, but only a fraction of your fans ever see the posts you make from your fan page. This is downright infuriating, and believe me– I feel your pain, but that's just the way it is in Facebook-land.
You may have noticed a little thing called "Impressions" that will typically appear underneath your posts once they're a couple of days old. This number shows you how many times your post showed up in fans' News Feeds (regardless of how many of your fans actually saw it or clicked on it).
Ordinarily, the number of Impressions your posts will get ranges from 30-40% down to a paltry 10% (or lower), depending on the level of fan engagement you typically receive when you post similar content (e.g. pictures, videos, links, etc.). So the bottom line is, since your Facebook audience is almost always more limited than you think/hope it is, you really need to choose your posting times (and types) wisely. So what's the best way to accomplish this?
I've tried a number of different tools over time, each of which claims to analyze the timing and content of your posts to determine the best "window of opportunity" for you to maximize fan engagement. So far, in my opinion the best of these is a free (although the paid version is much more robust) utility called EdgeRank Checker. As advertised, this tool will provide you with an excellent starting point for post optimization.
When it comes to getting the most eyeballs as possible on your stuff, one of the biggest tips I can give you is to always "tag" yourself (and all band members) in your images– whether they're live shots, promo shots, or candids. This will increase your visibility substantially.
In addition, you should always "tag" everyone else you know who appears in the images, as well as other fan pages that might be relevant (such as the fan page for the venue where the image was shot, or any company that has employees/products in the image). This will also serve to increase your visibility, especially if the images get re-shared. (Disclaimer: it's always good etiquette to get permission if you have any doubts whatsoever about a person or brand's willingness to be tagged).
Here's a great tip: Ask a photographer to take an epic live shot of your band at a venue with really good lighting, and tell them to make sure to include the crowd and as much of the venue as possible in the shot. Then take that shot, crop it to 851×315 pixels, and add a small bit of text down at the bottom that says something like "YourBandName at XYZ Venue." Finally, reach out to the fan page owner for that venue and see if they'll use the shot for their page's Timeline cover image. It's a win-win!
So at this point you know: (1) how to get linked up with the best photographer for your particular style of music, (2) how to prepare for and execute a successful photo shoot, and 3) how to promote yourself effectively with the resulting images.
However, if you feel like I've left anything important out, or if you'd like further explanation on any of these topics, please shoot me an email via my Contact page. Thanks for reading!!
Hypebot contributing writer Dave Cool is Director of Artist Relations for musician website & marketing platform Bandzoogle. Twitter: @Bandzoogle | @dave_cool