___________________________
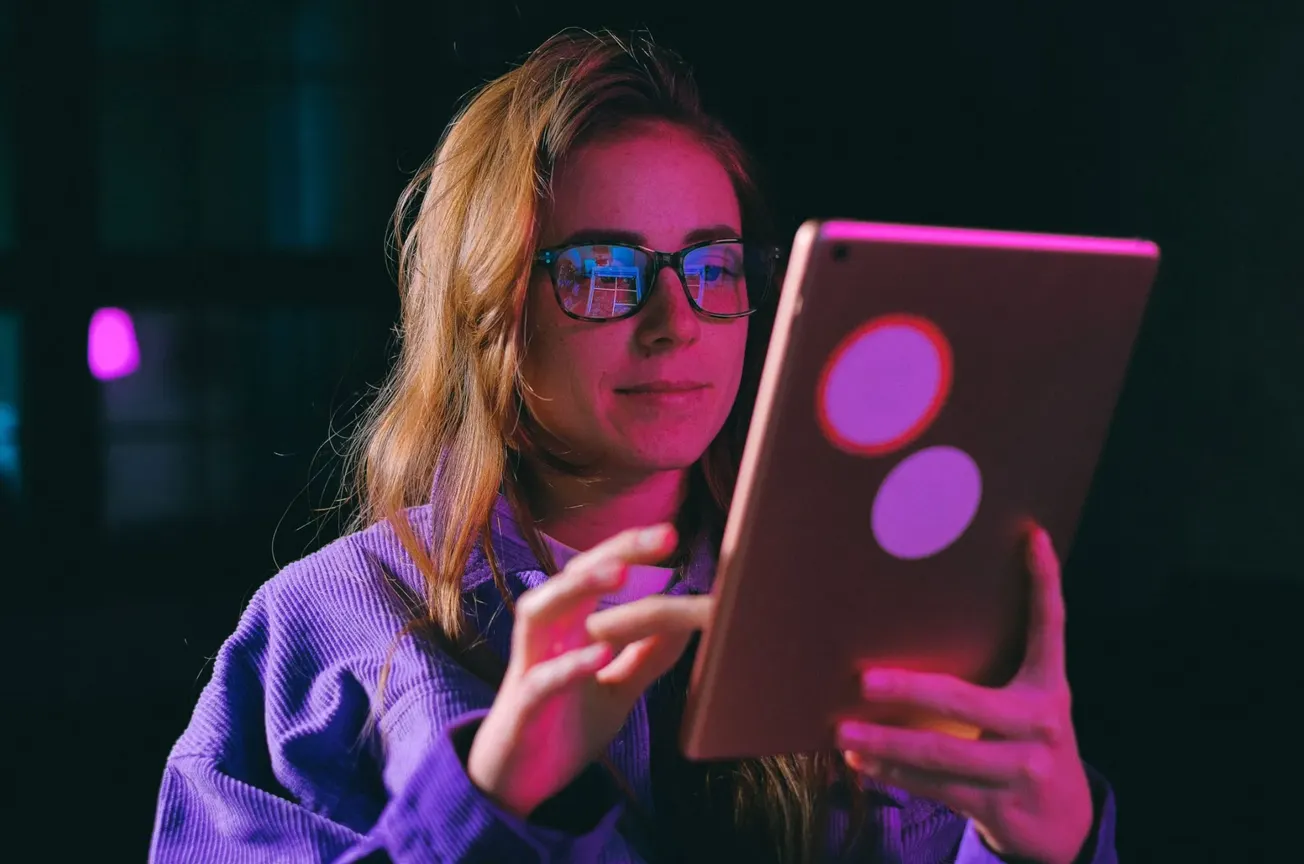
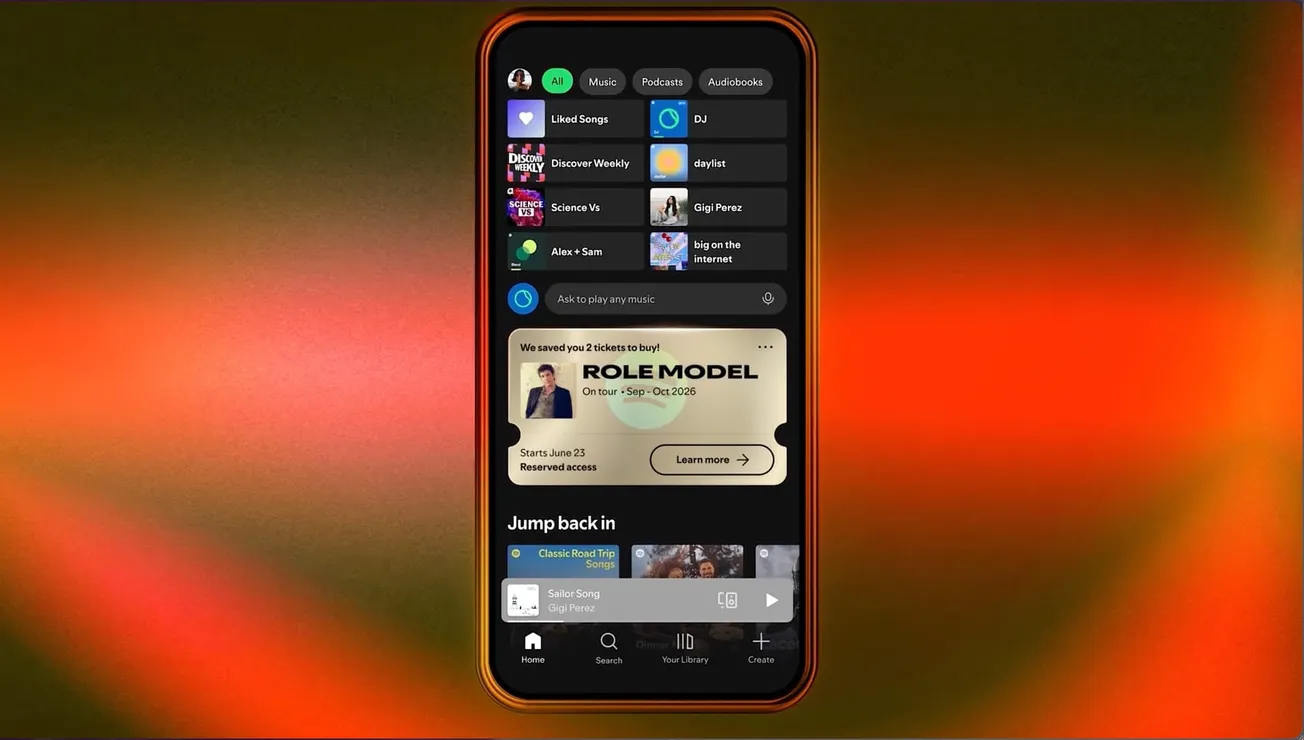
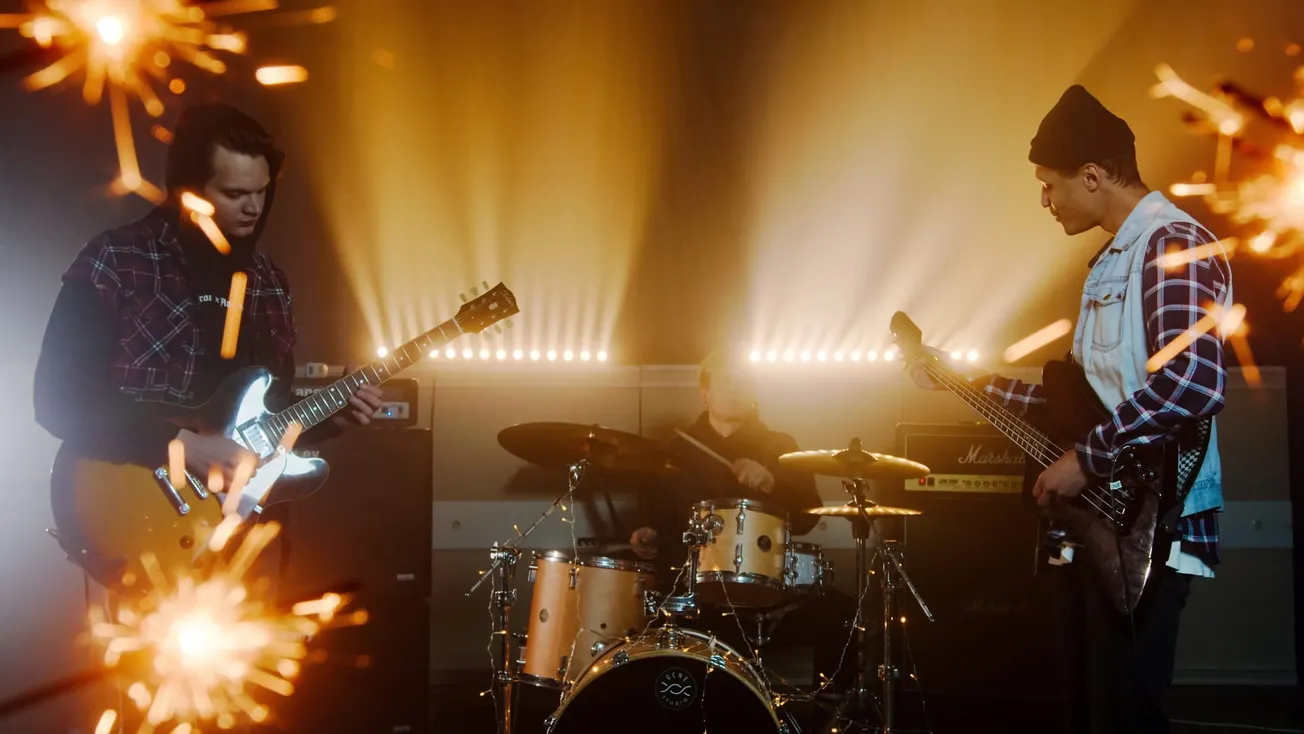
Guest Post by Matthew Wiesman on IndieUBeing a fully independent artist entails a lot of grunt work. From booking gigs to branding social media, self-reliance and industry know-how are a must for making your mark on music. One of the most important talents to hone early on is DIY recording and production. If you can’t put out any songs, you won’t make much of a dent in the industry. Fortunately, the last decade’s ever-evolving technology has made such a skill set easier than ever. The tools can be pricey, but they won’t break the bank, and are undoubtedly cheaper than hiring a sound engineer and buying studio time. Here are five tips for getting started.Step 1: Get good headphones and speakersHearing the quality of your music is crucial, so picking up a good pair of headphones and a set of speakers is a number one no-brainer. You don’t need something overly extravagant or insanely expensive; AKG makes many good options at a variety of price points. You can nab K240s for as low as $55. They rival some of the best headphones out there, and a good number of sound studios prefer them.Step 2: Invest in a Digital Audio WorkstationBefore you can do any recording, you’ll need a reliable program to store your work. A Digital Audio Workstation, or DAW for short, is traditionally the best way to produce your music. ProTools is the industry standard, but you can settle for less and still get high quality.If you’re looking to save, Mac’s Garage Band can get you surprisingly far, but Logic Pro is its savvier older sister. It provides a fairly intuitive layout as well as Apple’s well known, easy-to-use interface. Plugins and effects all sit within their own windows, allowing for smooth adjustments. You’ll have to pony up $200, but it’s a steal considering the extra options it opens up.Ableton Live ($99-$1500) is also a popular choice. It has a standard DAW setup, plus a “session view” designed specifically for live sets—a lot of DJs wet their feet on Ableton before hitting it big. Though not as pretty as Logic, it focuses everything on one screen. The plugins and effects are easily visible and nearly every control is both automatable and MIDI-mappable (see step 4).Ableton offers varying levels of software, each of which comes with a range of additions. They also tout student discounts and trial versions, and many recording and production tools come with a copy of the Lite version—just enough for you to learn the ropes before investing.Step 3: Purchase an interface (Pre amp)Whatever you’re recording—guitar, vocals, drums, keyboard, harmonica, bass—you’ll need some way to get high quality sound into your computer to work with, which is where an interface comes in. For those technically inclined, the system transforms the incoming analog signal to digital, then reverts it when you play it back. Most interfaces will provide inputs for both TRS (for guitar) and XLR (for microphones) chords. A good starter is the Focusrite Scarlett 2i2, which comes with a few plugins plus a copy of Ableton Live Lite. At roughly $130, it’s not terribly expensive and provides enough power to conduct an easy recording session with a few musicians. Any interface can connect directly into your DAW, and with a few easy setting changes you’ll be recording your jams in no time.Step 4: Pick out a MIDI controller that’s right for youMIDI notes are used to control instruments and synthesizers built directly into DAWs. They allow you to create drumbeats or sample a grand piano. Often times, producers will lay down much of the background instruments through MIDI; not physically playing the instrument might seem like cheating, but the internet has made it commonplace in recent years, and the controller streamlines this process. Without it, you’d have to draw out each note, while the controller lets you create and “record” each part with full, live-like velocity.
Related articles