
While many artists have tried their hand at live streaming shows, one of the things that can suffer in the switch to virtual is sound quality. Here we examine some techniques for improving the audio quality of your next broadcast or live streamed show.
Guest post by Randy Chertkow and Jason Feehan of the Disc Makers Blog
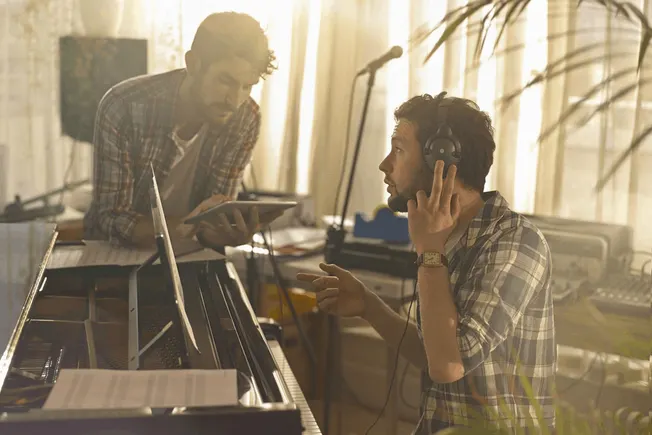
While many of us around the world are stuck indoors, you can spread some joy by putting on streaming concerts and releasing videos — all from your home.
During this difficult time while people the world over are sheltering in place due to the Coronavirus, they’re still looking to connect with one another and find entertainment. Music is one critical way you can help bring people together and spread some comfort, enjoyment, and relief. Just because you may be stuck at home doesn’t mean you can’t create videos, perform live streaming concerts, build your fan base, and even make some money.
This article will focus on how to make your videos and live broadcasts stand out from the pack by building in great audio.
Since it’s free to stream a live video feed using services such as Twitch, YouTube Live, Periscope, Facebook Live, Mixer, and YouNow, there’s no better time than now to give live streaming a try. And even if you don’t perform live, you can always create videos and upload them on sites like YouTube, Vimeo, Facebook, and others. All of these platforms have monetization options which you will want to take advantage of.
Why audio quality matters
It seems counterintuitive, but having great audio quality for your videos and broadcasts is even more critical than the visuals because audio forms the audience’s primary perception of the quality of your work. For example, it might be a cool visual effect to make the video low-fi or grainy, but if the sound is poor, muffled, or distorted, viewers will lose patience — fast. So whether you have a fan base or are just getting started building a following, it’s worth it to learn these techniques and spend the time to make your audio sound exceptional to increase engagement and subscriptions/follows.
Because you’re a musician, you are likely have access to some of the right audio tools and resources. To help boost your audio quality, try these tips for your videos and broadcasts.
1. Use a video switcher or streaming software to control the audio feed
To get a quality audio experience, use good mics and filter the signals using video switcher software. This is like a mixer for video that can take multiple video and audio signals and put them together into a single output, allowing you to switch between them for your broadcast.
This software has many advantages. First, it will allow you to send the signal to multiple streaming platforms at once, such as Twitch, Facebook, and others. (Or, you can send the signal to one place like Mobcrush and let it handle it with extra features.) This is important, since you don’t know which platform may bring the most viewers. Second, these video switchers provide a lot of necessary audio features and options you need for your live stream and live-recorded videos. Third, you can save the results to a file and use the software to make videos with your favorite editor.
You can purchase video switcher software such as XSplit and Elgato, but if you want a free and open-source option, try Open Broadcaster Software (OBS). Most of these tools allow you to have multiple mic/aux inputs with separate audio controls for the video feed, which allows you to use your audio board or mixer. For example, with our band, we still use our old (now discontinued) Presonus Firepod to set up mics when performing for broadcast. Once the Firepod is connected to the computer we’re using, that appears as an audio source to hook up to the aux.
The latest version of OBS contains four aux inputs. Each of these inputs can be hooked into an audio input capture, allowing you to switch between them the same way you’d switch between video feeds for some creative live sound mixes. While this article can’t get into the details of how to handle this particular program, there is good documentation on OBS. Try recording a stream to a local file to test it out before you go live.
2. Use quality mics and a preamp or audio interface
Whether you’re recording a video that you’ll upload later or you’re flipping the broadcast button so you can stream live, use high-quality microphones. While you can always use the internal microphone of your phone or camera, these are unlikely to provide a quality final product/broadcast.
If you’re not recording music and are simply talking (video podcast, behind-the-scenes, or informal chat with your fans), you may want to invest in lavalier mics, which are perfect for capturing the speaking voice and can be relatively inexpensive. If you create videos on your phone, many models plug directly in. In fact, the microphone we use for our videos is only $15. If you have a lot of interview situations, use a hand mic or a shotgun mic. For live music, use the appropriate mics for performances. These mics should be connected directly via an audio interface. You can then set levels of the individual mics and send it as an audio input to the video feed through the video switcher.
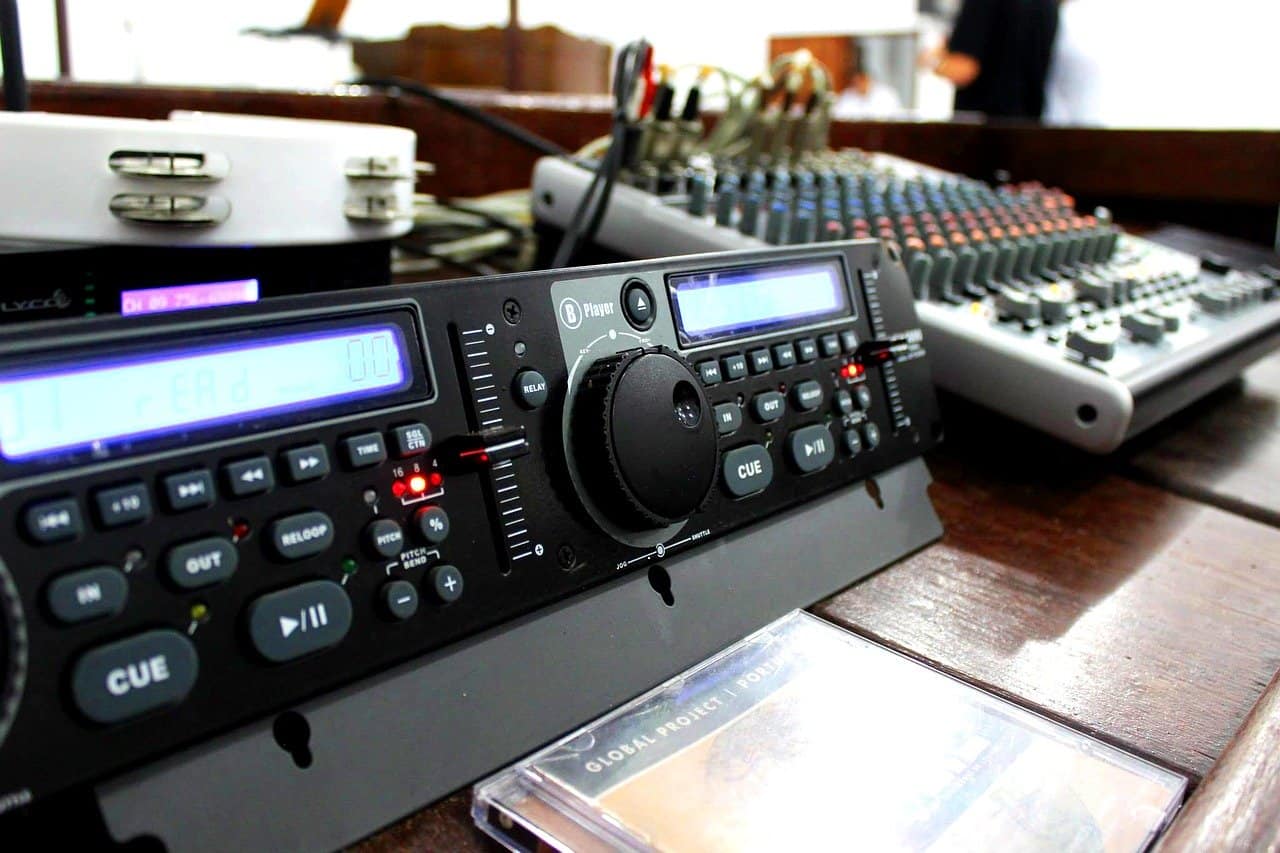
3. Mix the sound appropriately and pull the audio feed off the soundboard if possible
When you perform on video, whether live or one that will be edited in post, the best place to capture live sound for multiple instruments is through a mixing board or mixing software. By mixing the various mics and instruments, you can get everything at the right level and then use the mix feed to produce the highest quality mix for the video. If there’s no board, then we recommend putting up some room mics and capturing the sound from better quality microphones and syncing the audio in post-production.
4. Test your audio before going live
Even if you follow the above steps, you will always want to test your video or broadcast signal to hear, through the system, how the audio sounds before you broadcast live or begin recording your video. Just as you would listen and review your music tracks in the studio with a careful ear, you’ll want to do the same with the audio of the video you’re producing.
Techniques we musicians use on our own music work here too. Listen and view your video on a different devices — phone, tablet, TV, and laptop. Also, check the audio in relation to other videos you’ll be up against on the platform you’re using. That way you can see if the quality dips or the volume drops when compared to other videos or streaming broadcasts. Performing a test will allow you to make adjustments and fine-tune your settings.
5. Use fully mastered music from WAV files
If you’re creating a video to upload later rather than broadcasting live, you have the benefit of post-production. This step allows you to edit after the fact and adjust the audio, add video effects, clips, and transitions, and more. Of course, any of your music or imported sounds you add to your video should come from high-quality, well-mastered WAV files. This is because all video and video streaming sites compress the video and audio file when you upload it. If you use an MP3 file for your audio source material in your upload, you will end up compressing the audio twice. This will compromise the quality of your audio track, creating audio artifacts and digital distortion. This can reflect poorly, not only on your video, but also your music. To avoid this and keep the audio quality at its highest, use only WAV files in your video.
6. Extract, master, and then re-import the finished audio to your video editor
If you’re creating a video to upload later, you have more flexibility in getting the audio to sound great. Even with great mics and a great mix from the soundboard, if you have time, you should improve the audio track like you would any other audio recording. You can do this by taking the non-mastered audio from the video, extracting the audio from the final edit as a WAV file, and exporting it into your audio editing program or digital audio workstation. This way you can apply compression, EQ, and volume normalization on the final audio track with your best audio tools. Obviously, you won’t want to alter the length of the imported audio track or else you’ll have syncing problems with the video image when you re-import the improved audio file back to your video editor.
— — —
With high-quality audio, you can feel confident promoting your video or stream to viewers. This improves the chances of viewers engaging with your videos and live broadcasts, subscribing to your channel, and sharing your content with others so you build up your views, increase your fan base, and turn their engagement into a profitable revenue stream.
Authors of the critically-acclaimed modern classic, The Indie Band Survival Guide, Billboard Magazine called Randy Chertkow and Jason Feehan “the ideal mentors for aspiring indie musicians who want to navigate an ever-changing music industry.” Their latest book, Making Money With Music (Macmillan) and free Making Money With Music Newsletter, help all musicians — from startups to pros — build a sustainable music business so you can make money in today’s tech-driven music environment.

