Video reigns supreme when it comes to online content, and with bands and artists still largely housebound where performances are concerned, being able to create a high quality performance video from you home is essential. Here, we look at how.
Guest post by Carla Malrowe of the Bandzoogle Blog
Video is the holy grail of online content. Video content far outweighs written posts, images, and audio in terms of user engagement. A video post will almost always get more traction.
And these days, with the global population homebound and living on the internet more than ever before, we’ve seen that this couldn’t be more true. For this reason, creating your very own music video content from home is a great way to attract and inspire new fans online.
Acoustic versions of your songs, or pared-down solo versions, can easily be performed, shot, and edited at home—but that doesn’t mean it has to look amateur! With a little bit of thought put into it, you can create a captivating professional-looking video.
So go and pick your song and we’ll get started. Let’s plan your next shoot with the following factors considered and mapped out before you begin.
- Equipment: The tools you need for filming as well as recording audio
- Setting: The space you’re using and how it will be decorated
- Styling: The wardrobe, hair, and make-up
- Lighting: The lights you’re using and how to use them adequately
- Shot lists: The camera angles and frames you’ll be considering
- Editing: How to put it all together and fine-tune it into a masterpiece
1. Equipment
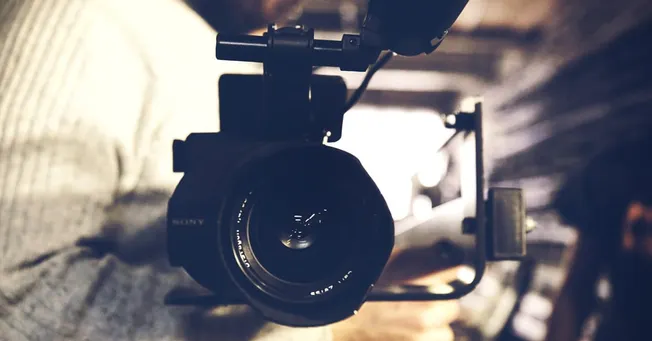
For filming
The ideal situation would be to record your video with a proper camcorder. A DSLR (Digital Single Lens Reflex camera) is highly recommended as it comes ready to shoot right out of the box. However, the camera on your smartphone is so advanced that you can definitely capture great-looking footage through your phone alone, so don’t break the bank just yet.
If you do shoot through your phone, consider investing in a tripod or stabilizer to get a proper frame and keep that frame steady. Worst-case scenario, you can lean your phone against a steady object in the room, but this limits your options with regards to getting the perfect shot.
For recording audio
Using the audio recorder on your camera or smartphone is not going to cut it, I’m sorry to say.
You can still record audio and video at the same time, but the audio should be captured through external recording devices. Remember, it is all about the song in the end. To have it sound good is almost more important than having it look good, but there doesn’t have to be a compromise!
Most musicians these days have some sort of home recording setup to capture their ideas or lay down simple demos. If you don’t, I recommend you do a little bit of research into how to set up a basic home recording studio. Recording music into a DAW like Reason, Ableton, Logic, or Garage Band is simple enough, as long as you have a multi-input mixer to capture input from your mic, your instruments, and any other sources you’re using in your performance.
You will be able to sync your audio to your footage later during the editing process; we’ll talk more about that below.
2. Setting
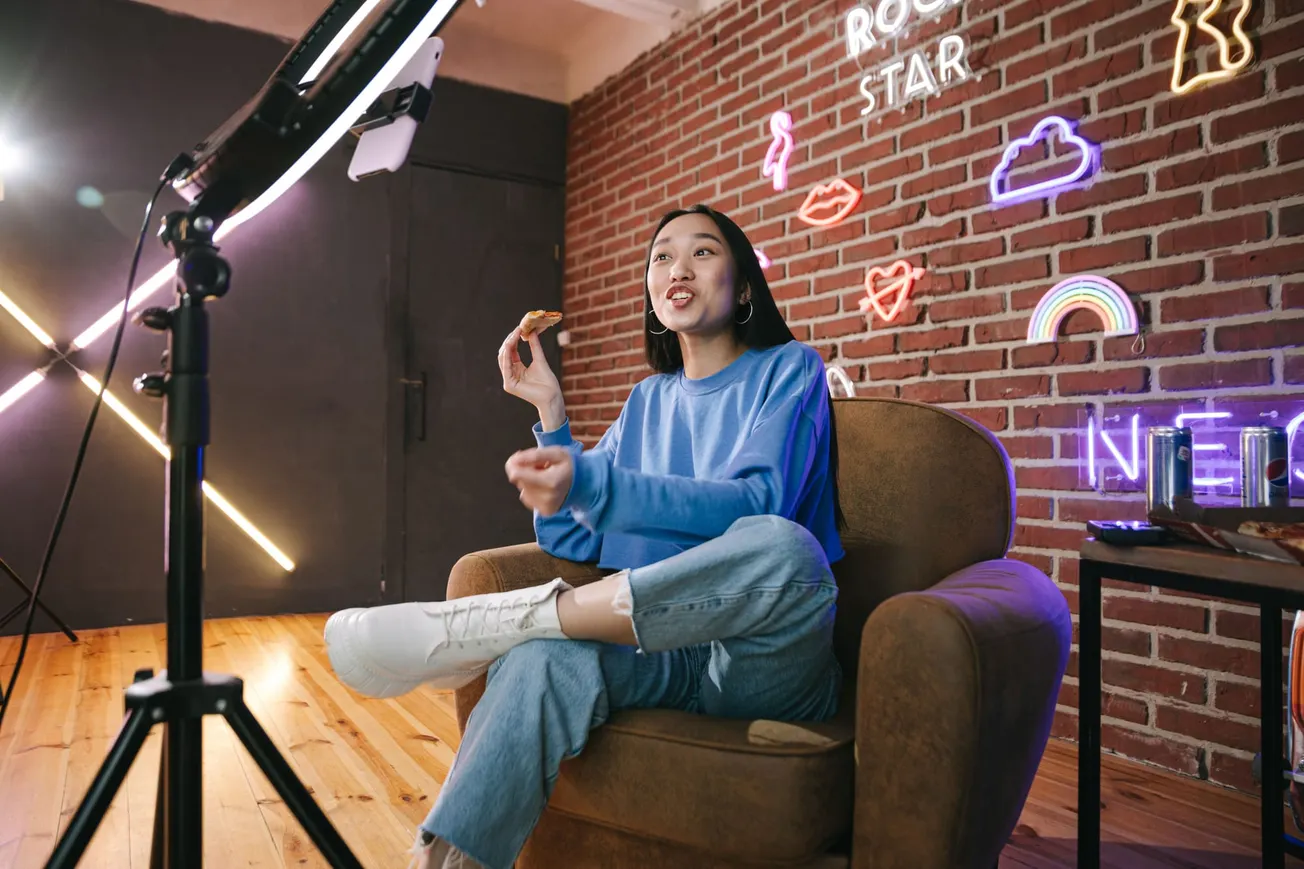
Establishing your setting should be a bit more involved than just picking a room. Just because you’re shooting from home doesn’t mean it has to look boring and domestic. Transform your room into a dreamy, inviting music space.
Think about varying some textures and interesting props that you have on hand. Whether you clutter your setting with instruments, art, furniture, ornaments, or have it completely stripped down and stark, make sure it is visually stimulating in one way or the other. Christmas lights do a great job of setting a mood, but beware their effect on the room lighting (we’ll talk about lighting concerns below!).
Remember that props can also be abstract—a strip of colored paper, a light reflecting through some glasses so it spreads across the wall, etc.—think out of the box and create!
3. Wardrobe, hair, and make-up
Since the musicians are the main features in this video, they need to look the part. There’s no point in putting a great amount of thought into your setting only to forget about personal aesthetics.
Plan out what you’re going to wear and how you’re going to compliment the details of your setting. Think about textures, shapes, and colors and how you can combine and sync them in interesting ways; random is okay, but it can be distracting.
4. Lighting

I cannot stress the importance of lighting enough. You’re going to want to shoot in a well-lit area to avoid grainy areas and unwanted shadows. What you’ll need in order to achieve lighting perfection is a classic three-point lighting setup: A key light, a fill light, and a backlight.
- A key light is your strongest light source, and should be placed to shine on one side of the main subject’s face, casting a slight shadow on the other side.
- The second strongest light, a fill light, should be placed on the opposite end to soften the shadow cast by the key light.
- Finally, a backlight should be placed behind the subject to create a separation between him/her and the background. This will create depth by highlighting the subject’s outline with a slight glowing effect.
Whatever you do, don’t aim the camera directly at a bright light source. This will cause overexposure and lens flaring and will ruin your footage. Remember to adjust the positioning of the lights each time you shoot a take from a different angle. Finally, make sure your lights are steady.
If you cannot get your hands on a professional lighting rig, LED lights and work lights on tripods can easily be purchased from a hardware store. Divide the lights according to their strength and follow the same three-point process described. If you simply cannot get your hand on lights at all, make use of natural lighting. Arrange your setting outdoors or in a room that is completely flooded with daylight.
5. Shot list
It’s always a good idea to plan out the shots you want to capture before the shoot begins. This will help avoid massive wastes of time adjusting things and you’ll be able to remain focused on getting the best performance, instead of worrying about visual details during the shoot.
I suggest choosing at least three different camera angles. This way you’ll have different variations of shots to cut to (again, in editing). Cutting from one shot to the next is a great trick to re-engage your viewer’s attention when things get too one-dimensional.
Here are three super popular shots to consider for your video.
- An establishing shot: This is a wide-angled shot that frames the entire setting, and all the subjects in it. It welcomes the viewer to your space and gives them all the visual information they need to understand what’s plotting.
- A medium shot: This typically frames the subject from the knees up. In your video, this will be the shot that frames a musician playing an instrument—great for exploring detail.
- A close-up shot: This is a shot that frames a subject at close range and is the one that conveys the most emotion. Use this angle to frame the vocalist’s face while singing. This shot can also be used to frame the hands of the musicians as they play their instruments, to emphasize their skill.
It’s never a good idea to have the subject directly in the middle of your frame. Always have the subject placed a little bit off-center to make it look more natural. The rule of thirds breaks the frame into three sections—play around with the placement of the musician in the frame for a dynamic viewing experience.
It’s also important to consider shot continuity, which is the basic concept of ensuring that your setting and subjects remain exactly the same from shot to shot. Focus on smaller details.
Continuity faults can be things like a glass of wine that was full in one shot and empty in the next, the guitarist’s jacket sleeves that were pushed up in one shot and lowered in another, or the vocalist’s lipstick that fades throughout the shoot.
6. Editing
Start with choosing your software application such as iMovie, Adobe Premiere Pro, or Final Cut Pro, and do some research on how to use your program.
For any program, what you’ll start off with is importing all the footage; this can take a long time if your files are particularly heavy. Select which clips are the best, and which clips best suit each section of the song. You’ll be able to split and trim these clips to your liking before dragging them into your timeline and syncing with the audio track you recorded.
Before you start fine-tuning, make sure to get rid of the audio captured by the camera. You can easily detach and delete it, import the audio you recorded separately, and insert it over the video as a separate track. Make sure that it is perfectly synced before you continue.
From this point onwards, you can get creative through adding filters and editing brightness, shadows, saturation, contrast, color, and more. You can incorporate interesting transitions from one shot to the next. You can even add text.
When you’re done editing your video, remember to export it in the highest quality format you possibly can. Even if it is just for social media publishing, the quality should still be at its best.
An example of a well-executed yet easy home performance
Take a look at Hozier’s home performance of “Take me to Church,” a video shot for One World: Together at Home. For a home video, it is truly captivating and very well done, yet you can tell this was done on a totally appropriate budget. There are some good tips that you can take from this video in creating your own.
Now get out there and share your video
Once done and dusted, upload your sparkling new video to your website and post it on every social media platform that caters for video streaming. Facebook, Instagram, YouTube, and Vimeo are all great platforms to consider.
This is a good opportunity to use your content to gain new fans and satisfy longtime ones. By using your video posts to direct viewers to your music distribution platforms, you are giving them a chance to support you through buying or streaming your music. Be super creative, but always add a tinge of strategic thinking.
Go on, give it your best shot.
Carla Malrowe is a vocalist, songwriter and music industry blogger from Johannesburg, South Africa. She is the lead vocalist, keyboardist and contributing songwriter for industrial-rock band Me’ek. Malrowe is excited to announce that she is currently working on the debut EP of her new dark electronica project Shiver Kiss.