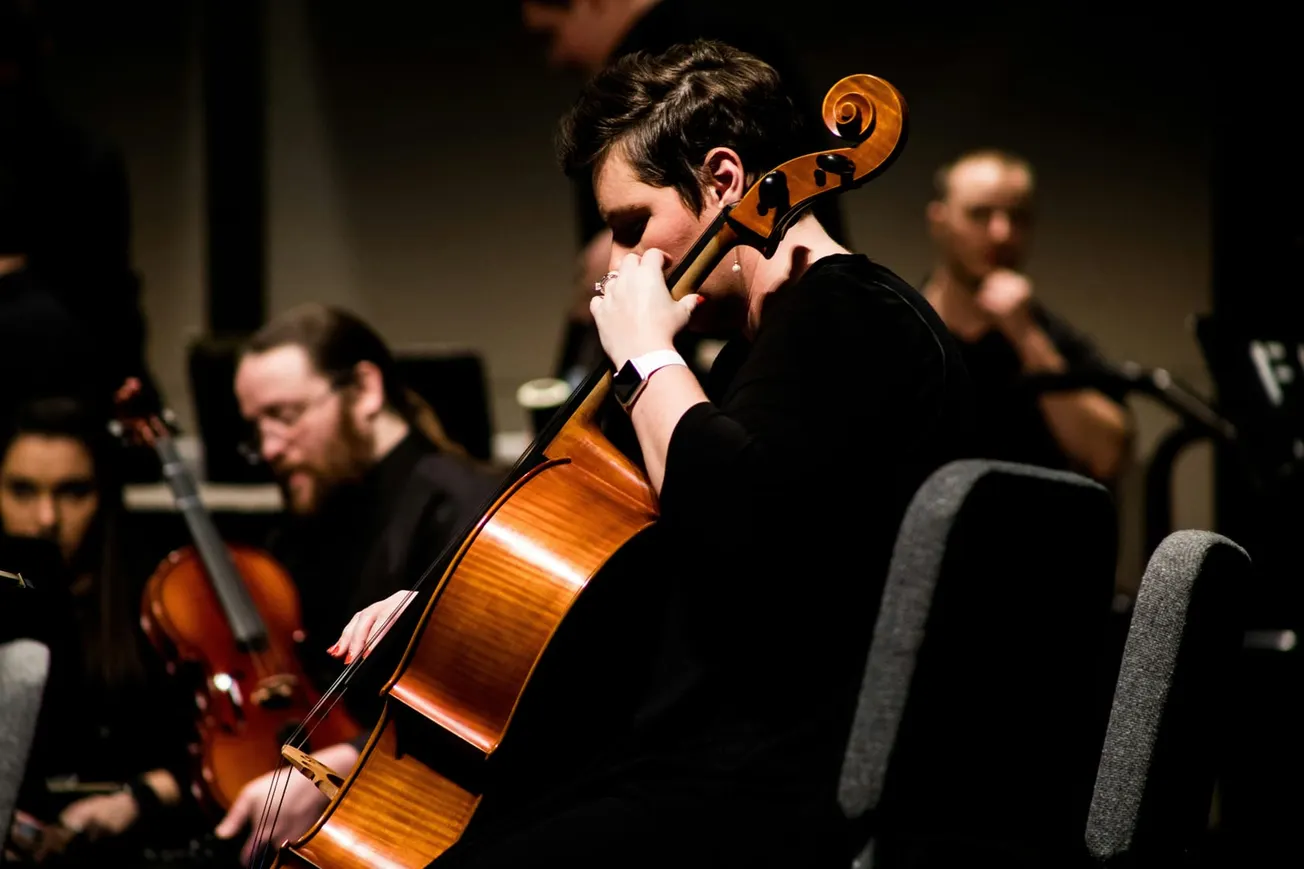

For the time being, live streaming is the dominate form of live performance, and while performing out of your own home can be convenient in a lot of ways, it also has it’s own set of challenges, particularly when it comes to the sound quality of the performance. In this piece, we address some of these issues, and offer artists guidance on how to have crystal clear audio every performance.
Guest post by Randi Zimmerman of the Symphonic Blog
It’s no secret that live streaming has taken over the music scene. Since the beginning of quarantine, virtual shows have been filling the holes in our hearts left by the loss of this year’s shows. Live streaming from home comes with its own set of problems. Whether your voice is too low and the music is blasting or there’s a weird buzzing sound in the background, here’s how to have great quality audio every time.
How to Improve Your Live Streaming Audio
Utilize Video Switching Software
Having good quality mics is a given, but using video switching software is the icing on the cake. This software lets you take multiple video and audio signals and join them together into a single output, giving you the ability to switch between them during your stream. OBS Studio is a great (and free) one.
Want to stream to Twitch, Facebook, and YouTube all at once? Video switching software lets you do that. Not only that, it lets you save the results to a file and edit into an even better video later.

To make it even easier, Mobcrush is a free app that connects to numerous social and streaming platforms and simultaneously broadcasts to all of them for you. Additionally, chat rooms and comment sections from all of the connected accounts are merged during a live stream and can be managed from within the official Mobcrush apps. Cool, right?
Pull Audio Feed From The Soundboard
When you mix your various mics and instruments, you can set everything at the perfect level and then use the mix feed to produce the highest quality mix for the video.
- Don’t have a soundboard? // Set up some room mics to capture the sound from better quality microphones and sync the audio later.
Choosing the Right Mic
If you plan on moving around a lot, a lavalier mic is the way to go. They’re small and clip right on to your shirt with ease. While they may not have the same audio quality as a larger dynamic or condenser mic, lav mics are the best (and easiest) option for recording hands-free.
There are tons of mics on the market, each of them good for different things. // This post offers a pretty good rundown of some great options available and what each one is best for.
————
Check these out:
Best Ways To Promote Your Live Streams
How To Sell More Merch During Your Live Streams
Creative Ways To Monetize Your Live Streams
Best Times To Post On Social Media
————
Before You Go Live, Always Test Your Audio
The way you listen to your tracks in the studio is exactly the way you should be analyzing the audio of your stream before it goes live. Check out the video on your phone, TV, laptop, etc. to see how it looks and sounds across all the devices you fans may be tuning in on. Then, adjust accordingly.
In Conclusion…
You never know who could be seeing you for the very first time on any of your live streams, so make ‘em count! Great audio shows you’ve mastered your craft and truly care about the outcome.
There’s nothing worse than hyping up a stream and having it fail right before your eyes. By following these steps, you can ensure the quality of your streams is always top notch.