__________________________
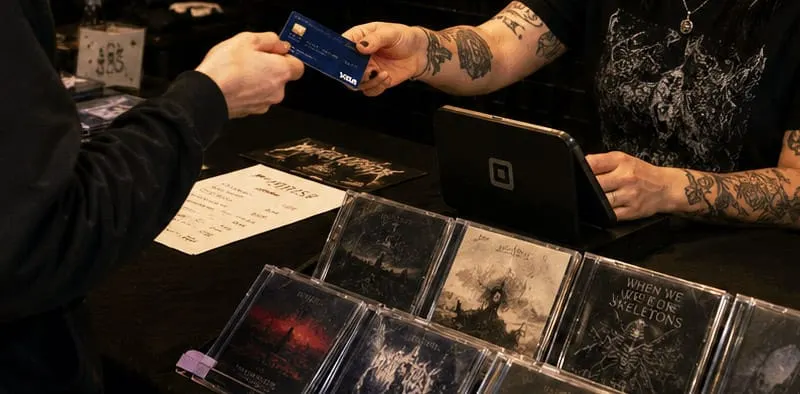
Guest post by Dana Tom of EventbriteMarketing your event on Facebook is one of the most most effective ways get the word out and drive ticket sales. In fact, Eventbrite organizers sell 10-20% of their tickets on average through social media, primarily driven through Facebook. No surprises there, since 550M people use Facebook Events every month — that’s nearly half of all Facebook users.But are you doing everything you can to reach and engage the people most likely to attend your event? Is your Facebook Event designed to turn their interest into ticket sales — and seal the deal when it really counts?You may have already heard about the easiest way to increase ticket sales: Use our “Add to Facebook” tool to enable people to buy tickets without ever leaving your Facebook Event, reducing buyer drop-off and maximizing your conversion rate.*But you may not have heard about lesser-known tactics for selling more on Facebook. We caught up with Allison Hoffman, an events marketer at Facebook, to uncover small strategies that make a big difference for ticket sales.Here are two simple steps for optimizing your Facebook Event to help people discover and engage — at no extra cost:#1: Include important details to help people find your event
- Choose the right event photo: Capture the energy of your event by picking a unique and eye-catching photo with little or no text. Remember: it will appear differently across desktop and mobile, so we recommend 1920 x 1080 pixels (16:9 ratio).
- Use a clear and short event name: Long names can get cut off and don’t populate properly in Facebook search, so avoid duplicating location information in the name — and don’t use capital letters or symbols that can be hard to read.
- Specify a location to get in front of locals: Ideally, use a location that corresponds to a Facebook Page or a Facebook-suggested location so people nearby can discover your event through suggestions. Otherwise, use the full address (including the city).
- Set a specific date and time: Your event should be tied to a specific date and time so people can find it when they search using Facebook’s date and time filters. For events that last longer than two weeks, create separate events with their own time and location.
- Add keywords: Tag your event with relevant keywords that people might use to search for events like yours to make it even easier for them to find.
#2: Engage your Facebook followers and their like-minded friends by posting your event in the most visible places
To maximize your reach on Facebook, you can’t just create a Facebook Event and hope for the best. It’s important to share your event where your Facebook followers and their friends will find it — and enlist co-hosts and relevant Groups to do the same.Here are some tried-and-tested tips for promoting your Facebook Event:- Share your event: Spread the word by regularly sharing your event in your followers’ News Feeds (click “Share” and “Share in News Feed”). You can also invite your fans and send your event to them through Facebook Messenger.
- Publish events to your Timeline: Make sure that you’ve checked “Publish New Events to Timeline” on the gear drop-down menu on the events tab to automatically post all new events to your Timeline.
- Share your event calendar: Publish a post with a preview of your event calendar (“facebook.com/[YourPage]/events”) to let people know about all of your upcoming events. You can also boost the post with an ad or share the link in an email.
- Move the event tab up on your Page: Make it easier for people to find your event calendar by reordering the tabs on your Page. If the event tab still isn’t visible, you’ll need to create an upcoming event first.
- Add a co-host to help spread the word: Add any Page that you admin as a co-host of your event to extend your reach beyond your own fanbase. When you add a co-host, your event will appear on that Page’s calendar. We recommend you add all relevant Pages, like performers, promoters, sponsors, and venues.
- Cross-promote using “Add to Page:” Ask other organizers or promoters to add your event to their Page’s calendars so their fans can discover your event, too.
Related articles