Initially a platform for gamers, Discord has become a space where anyone and everyone with niche interests can share, learn, and chat. Here, we look at how musicians can set up their own Discord chat.
Guest post by Randi Zimmerman of the Symphonic Blog
Discord is a popular app that lets users form group chats where they can collaborate, share, learn, and just straight up talk, all in one place, through invite-only. Initially taken over by gamers, Discord has grown into a space for anyone and everyone. With the lack of live fan interaction since the beginning of the pandemic, artists all over the world have turned to Discord as a great way to deeply connect with their fans and collaborate with their peers with ease. Here’s how you can get in on the action.
How To Set Up Your Discord Chat Server as a Musician
With your own server on Discord, you can build an entire community of fans, other musicians, producers, marketing pros and more, all in one safe space. Click To Tweet
Before we dive in…
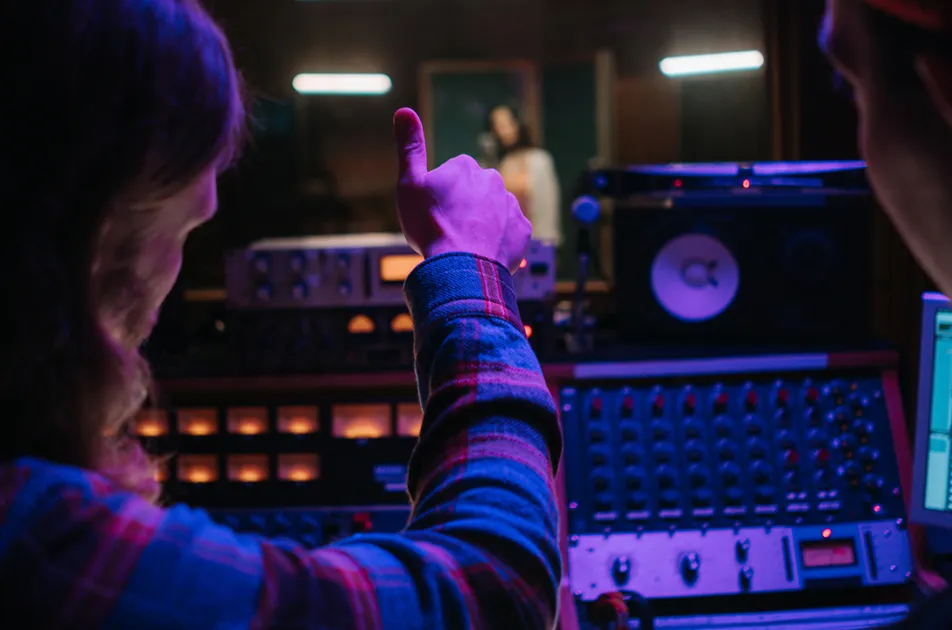
Discord is for more than just fan interaction. With it, artists can collaborate with underground producers, get advice on how to market their next release with a wide variety of peers in the industry, and so much more. It serves as the ultimate hub for interaction online.
In this post, we’ll show you how to create your server. Once you’ve done that, you can start making it homey by inviting people in and adding various channels for different topics. — Here’s how to get started below:
- Create an account.
- In the server selection column on the left side of the screen, you’ll see a plus icon in a circle. Click that.
- Next, choose “Create a Server”.
- Now, go ahead and choose a name for your server and add in a profile pic. (Keep in mind that the image you choose will be key in differentiating you between other servers. Make sure it’s unique and stands out!)
- Once you’ve filled everything out and you’re happy with your choices, click “Create” at the bottom of the window.
Congrats! You now have your own personal Discord server.
Now that you’ve completed the basics, it’s time to add the meat.
How to invite friends:
- Click “Invite your friends.” If you’re on mobile, tap “Set up your server” first, and then “Invite your friends.”
- A new window will open. At the bottom (desktop) or top (mobile) of this window will be a link you can send people, which they can click to enter your server. You’ll also be shown a list of everyone on your Friends List — click “Invite” next to someone’s name to send them the link immediately.
This link is only temporary, and it will expire after 1 day. However, you can change this by clicking “Edit Invite Link”. There, you can set it to never expire or put a limit to how many people can use it. Totally up to you.
Now, where the conversation actually happens is in sections called “Channels”. These are separated by topic to avoid clogging up the chatroom. You can choose from two types: text channels and voice channels. With text channels, you can type and send files (images, videos, etc.). With voice channels, you can talk and/or stream video.
How to create text and voice chat channels:
- Click or tap the small plus button in the left-hand toolbar, next to “Text channel” or “Voice channel” to create a channel.
- Next, you can customize your channels by clicking the gear icon next to the channel’s name. When you do this, you can edit the name, change the topic, give certain people different permissions within the channel, and more.
(If you want to delete a channel, you can do that in this menu as well.)
——
Expand your mind…
Virtual Platforms to Use for Your Next Live Stream
Spotify Acquires Locker Room To Compete Against Clubhouse
How to Get More Views on TikTok as a Musician
How to Get Your Music on TikTok
——
In Conclusion…
There is much more you can do to edit your Discord server. You can edit the channels, designate roles within these channels, create new categories, and more. Once you start playing around with it, you’ll see that the platform is very user-friendly and easy to navigate. As an artist, you can use Discord to connect with your fans, learn new skills, and chat with people from all over the industry. You never know who you might connect with!
Ready to get started? — Click here to download now.