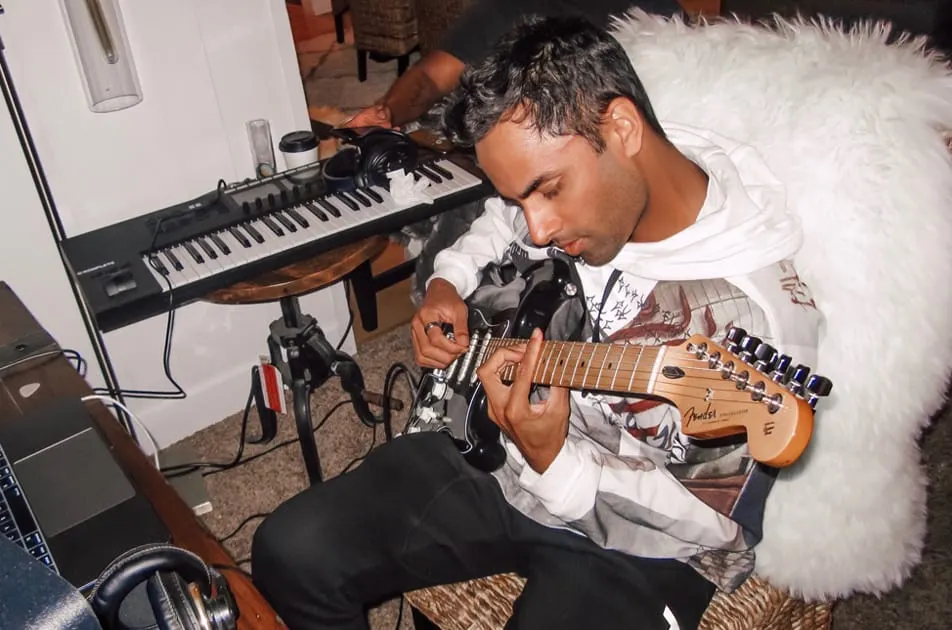
Here are six steps you can take to ensure your band photos tell your story and speak to your persona. We detail them here (and give you some real world examples)
by Andre Calilhanna of Disc Makers Blog
What do you first notice when you see an album cover? It’s probably the image, whether it’s an illustration or a photo. The images on your package can make or break the design and be the difference between getting noticed or overlooked. In many cases, a great design starts with great photos — the images “drive” the design. If you plan to include photos of you or your band, you want those photos to look professional.
How do you get great band photos? One obvious answer would be to hire a professional photographer, preferably one with experience working with musicians. But maybe that’s not in your budget. Let’s face it, sometimes being indie means taking photos yourself, so we’re providing these tips to help you plan for success.
1. Preparation
Before your photo shoot, write out your thoughts and even make a rough sketch so you’re sure to think things through. Plan out potential locations, what you’ll be wearing, what kind of mood you want your photos to have (dark, gloomy, happy, spiritual, etc), and what you want the “message” to be for someone who is seeing it for the first time.
Then you should:
- Set a date and time for your photo shoot and invite everyone who needs to be there. If shooting outside, set a rain date.
- Discuss ahead of time what you and your bandmates will be wearing. If you want everyone to wear a white, button-down shirt with a bow tie, make sure everyone is on board with that.
- When picking a public location, get permission from the property owner to do a photo shoot. If you want your photos in the lounge of a swanky restaurant, for instance, call ahead of time and speak with the manager to clear the date and time of the shoot with them.
- Make a list of what you need to bring to the photo shoot. That may include props, composition sketches, a change of clothes, a camera, extra batteries, etc.
2. Resolution
Every digital image is made up of pixels — tiny colored digital squares. The more pixels in an image, the clearer and better the image will look and the less you will notice the actual pixels.
Just because an image looks good on your computer monitor does NOT mean it will look good when professionally printed. Your monitor is comparable to 72 ppi (pixels per inch), and most professionals print at 300 ppi. If you use a low-resolution image (anything below 300 ppi) for your printed package, the image will appear blurry or pixelated.
(The top image on the left is high resolution, the bottom image is low resolution.)
For professional results, your image should be 300 ppi at the size you plan to print it. So, if you’re planning to use the image on a CD cover, it needs to be at least 5″ square, or 1500×1500 pixels. Use the lowest image compression setting, or uncompressed on the camera. Essentially, you want the largest image and file size your camera can save. And if you want professional shots, you’re best advised to use a digital camera, not a phone camera.
3. Lighting

Good lighting is crucial to taking professional photos. Creative use of lighting can make an image more dramatic, demonstrate a certain mood, and make your images more memorable. Bad lighting can obscure facial features, cause strange and distracting shadows, and make it hard to tell what’s going on in an image.
Lighting can be adjusted with the help of image-editing software, but there’s only so much that can be done without distorting the image. If your image is too dark and you try to significantly lighten it on the computer, it will make your photos look grainy. If your image is too light and features are “blown out” or disappearing, it’s not possible to bring those features back.
In the Springsteen and Twilight examples on the right, the lighting brings your attention to the faces of the featured artists and helps set a mood.
If shooting outside, keep an eye on the weather forecast. This may seem obvious, but if you want a sunny day, shoot on a sunny day (or preferably a slightly overcast day for best results). Be aware of where shadows fall. They can either add or detract from your photo.
If shooting inside, set up enough lights so you don’t have to use a flash. If you must use a flash, read your camera manual about getting the most from it. A built-in camera flash can often brighten the foreground too much and leave the background too dark. If you have a detachable flash, use that instead. If your camera has a red-eye reduction setting, use it.
4. Composition

Composition has to do with the placement and spacing of people and objects; how the person or people in the photo relate to each other, what’s around them, and the background. You may have heard the term “negative space,” which is the space around a person or object. You’ll want to consider that space when composing each photo.
For example, if there are two lead members of your band and other players who are more secondary, you may want to put the two leads near each other in the foreground with the other bandmates a little further back.
The U2 cover on the right shows a keen eye for composition in how the figures relate to each other and to the background. The Amy Grant cover uses props effectively to create a dynamic composition.
Try sketching out some compositions – where you want people, where you want the background elements, etc. It doesn’t matter if you can’t draw a straight line; a quick sketch to indicate what goes where is all you need. Then you’ll have something you can refer to during the shoot.
Props can also be part of your composition, such as the chair you’re sitting on or a hat you’re holding. If props help convey your message, they can be worthwhile. Keep in mind that too many props can be confusing and distracting.
Don’t over-complicate your photos. Usually, a simple composition is the most effective. Many famous photographers are known for drawing the viewer’s eye to the important part(s) of the photo by minimizing the distractions of other elements.
5. Background/Location
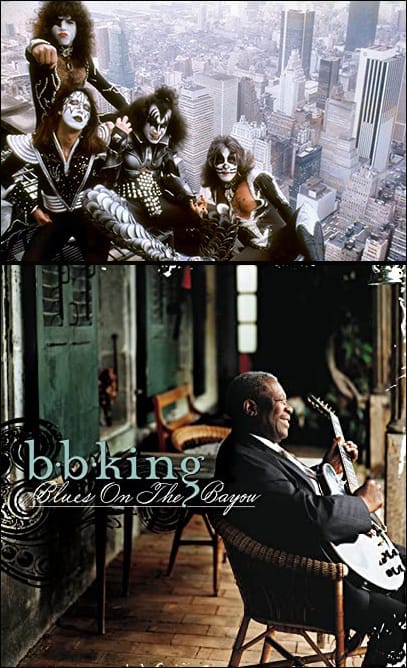
Pick a suitable location for your photo shoot. If you want your background to be a tropical beach, but you don’t live near a beach, consider taking a road trip. It is possible to change the background of a photo with computer “magic,” however the final result may not be completely realistic-looking due to lighting and perspective. So whenever possible, shoot on location.
It’s clear that the Kiss and BB King photos to the right were shot on location.
Notice what’s going on behind you in your photos. If you’re shooting on a busy street, you might not want that shirtless guy standing behind you in the photo.
Unless you’re going for a very specific look, it’s often best to avoid stereotypical or cliché locations or props. If you’re interested in having a unique background, steer clear of the two types of backgrounds we see the most often: brick walls and railroad tracks.
6. Clothing
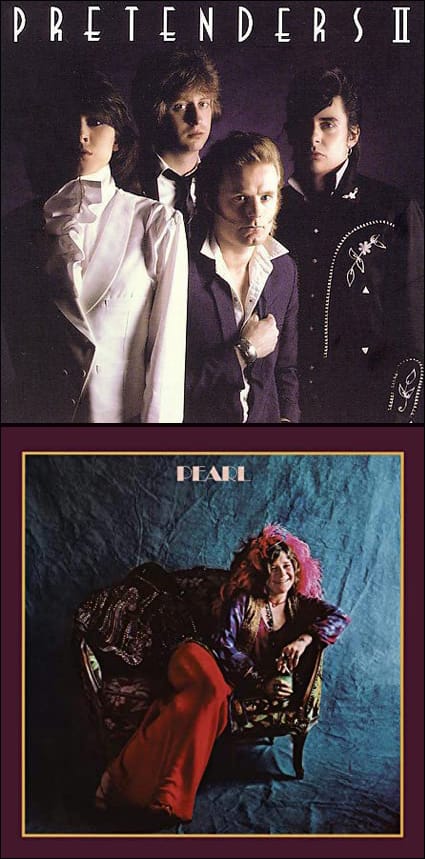
Whether you’re wearing jeans and a t-shirt, a tux, or a cowboy hat, what you’re wearing contributes to the mood of your images and can hint at the type of music you play.
While there may be reasons to do it (an endorsement, for one), clothes with manufacturing or other logos or brand names can be distracting and take the focus away from you or your band members.
Janis Joplin’s clothes reflected her personality. The formal wardrobe of The Pretenders sets a mood and paints the band in a new light.
Does all this seem like a lot of work? That’s because it is! That’s why there are professional photographers whose job is to help you take great band photos. However, if a pro just isn’t in the budget, then hopefully these tips will get you going in the right direction. Happy shooting!