____________________________
Guest post by Veselina Gerova of The MessageMessenger bots can make a world of difference for your social media strategy. That’s because their open rates are close to 100% and the engagement ones are approximately 95%! The traditional ways of posting on social media are still present, yet their reach is declining significantly and are currently at an all time low.POP was built around these truths. Also, POP was created with the goal of reaching your fans directly and beating the feed so you can stay on top of your social media game.This article serves as a little tutorial which will show you how to sign up for the platform and how to create your first bot. You can set up in just a few minutes because it’s super easy. You’ll be ready to reach your fanbase in no time!So here it goes:Step 1 — Sing Up
Go to POP and sign up. It’s easy and quick.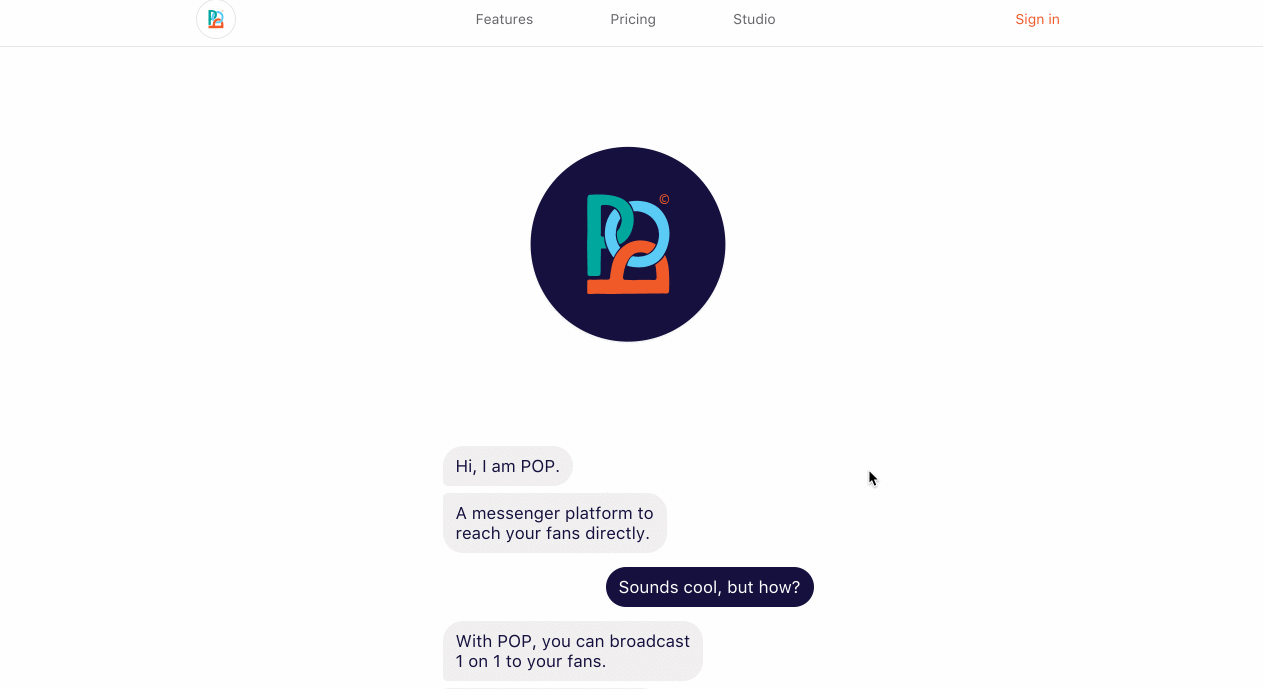
STEP 2 — Familiarize yourself
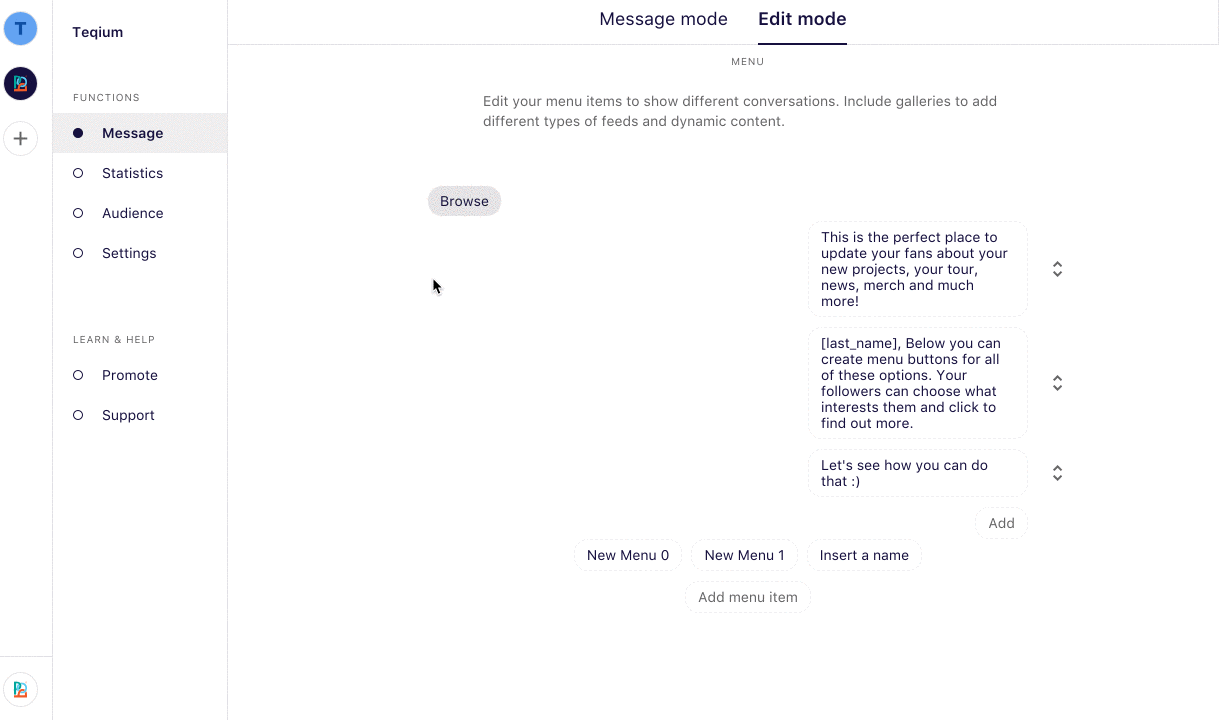
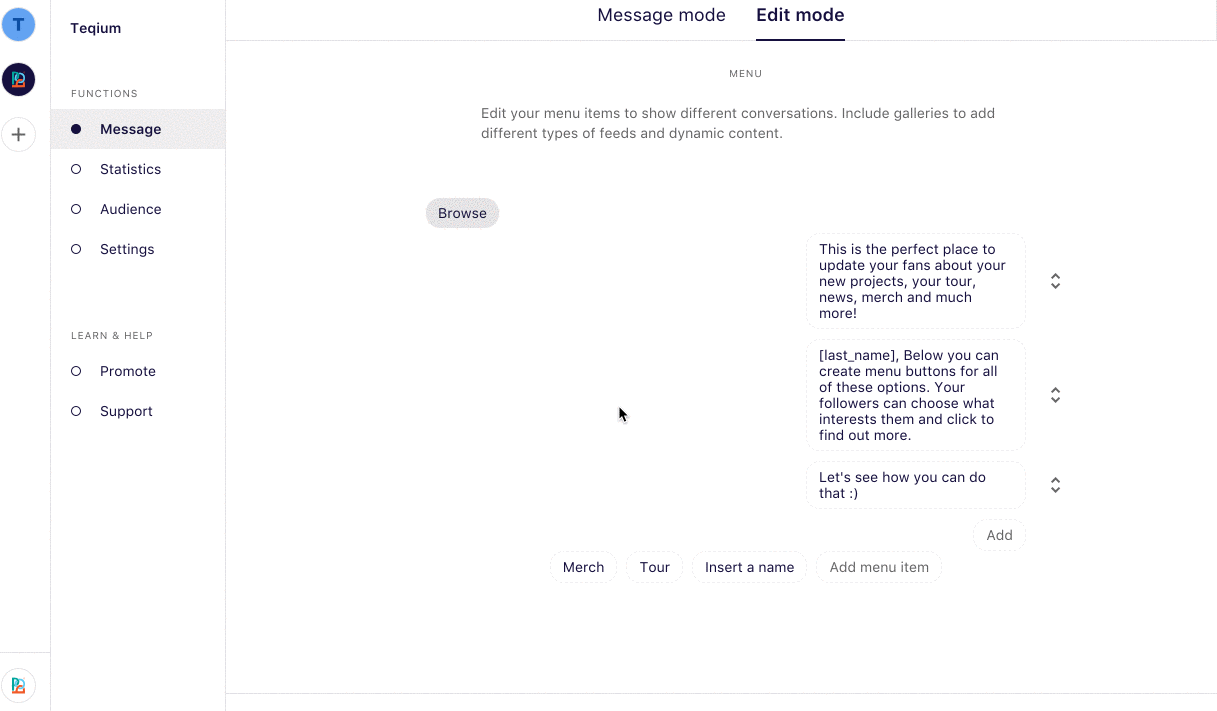
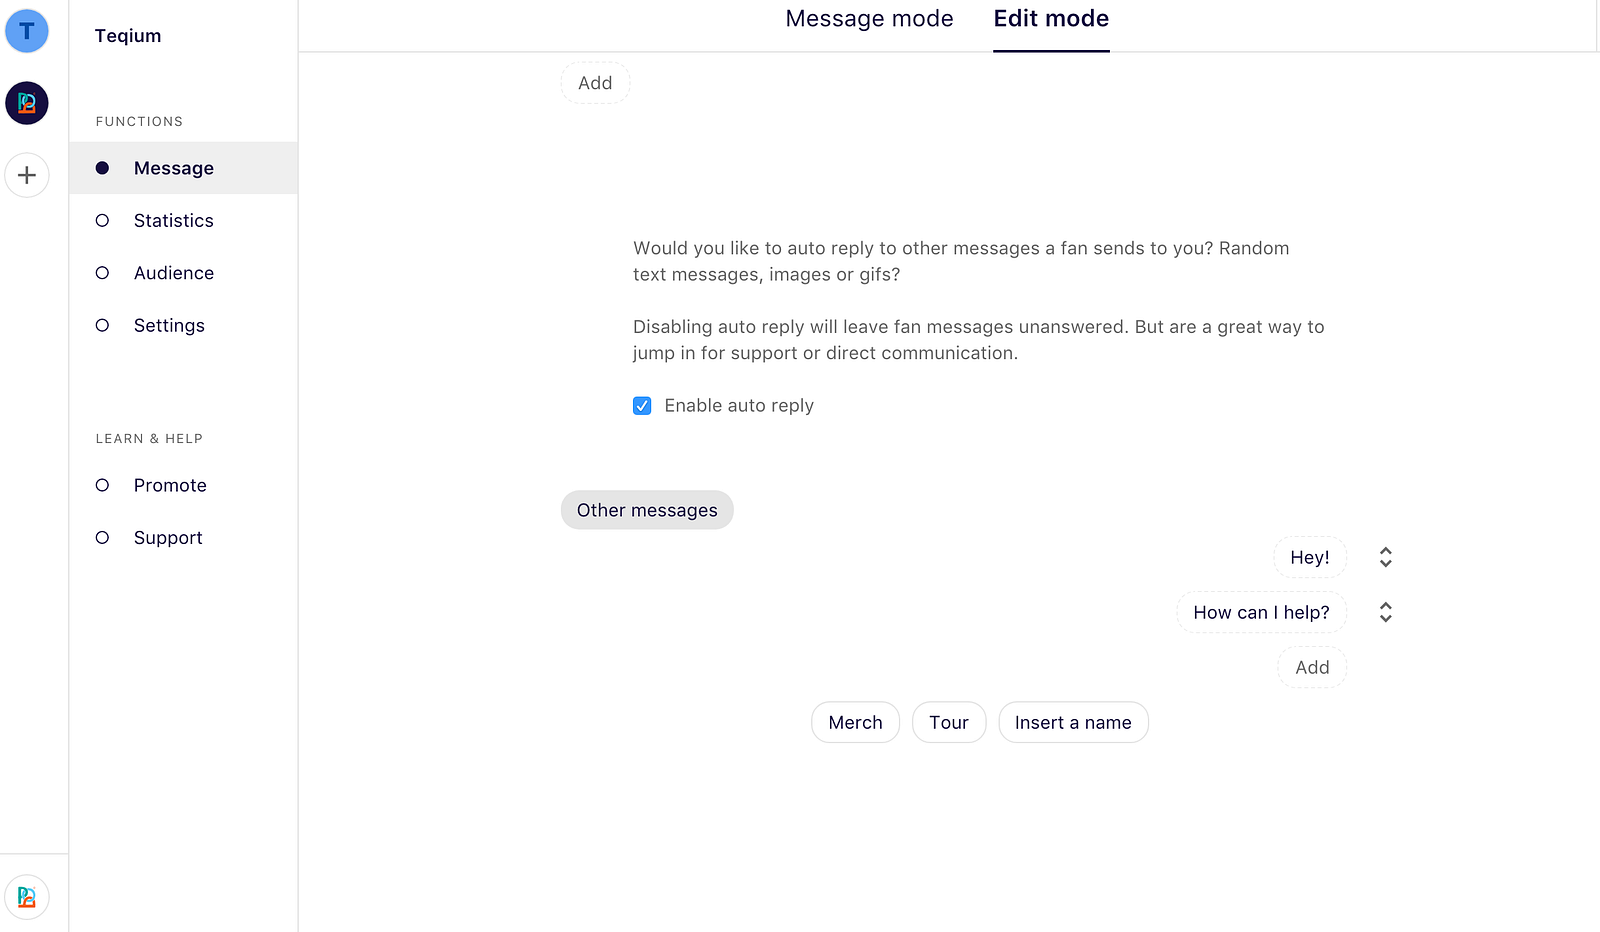
Once you’ve created an account, you’ll be able to access your dashboard.On the left side of your dashboard you’ll see the following options : Message, Statistics, Audience, Settings, Promote & Support.Next to these settings, you’ll see the bar from which you can monitor and manage all of your bots (yes, you can have more than one!).And if you’re wondering from where you can start communicating with your audience, just stay on the same page. In the center of the dashboard you can find your Message and Edit mode. What’s the difference you ask?When in Message mode you can directly shoot a message to your fans. To give you an example: If you wanted to randomly update them today that you’re making a spontaneous appearance somewhere, you can log in and quickly type a friendly update that will reach all your followers.Edit mode is where you put together your own Messenger bot. To be more specific, when a fan goes to message your FB page, your bot will greet them automatically. You can personalize this greeting and integrate elements like merch, streaming, tour dates and more!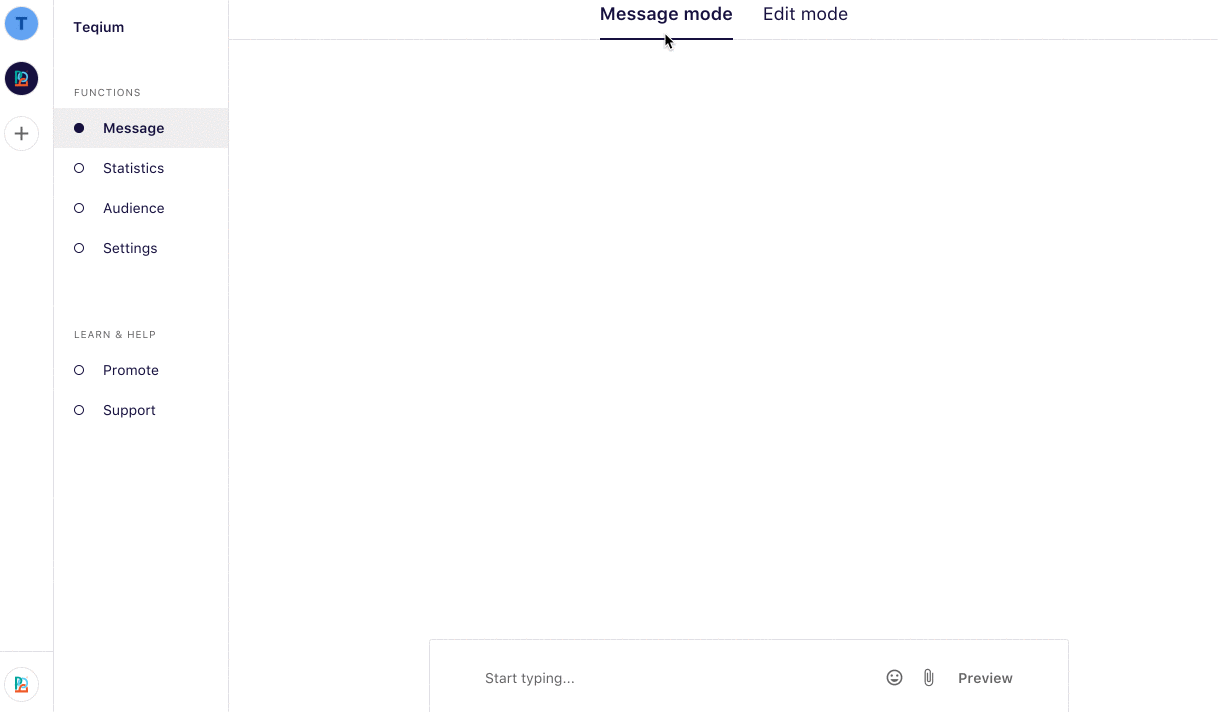
STEP 3 — Create your first bot in Edit Mode
When a fan goes to message your Facebook page, they will be greeted with a button which says ‘Get Started’ instead of being able to manually write a message as usual. Your Introduction is where you define the first messages your fans will see when they hit that button.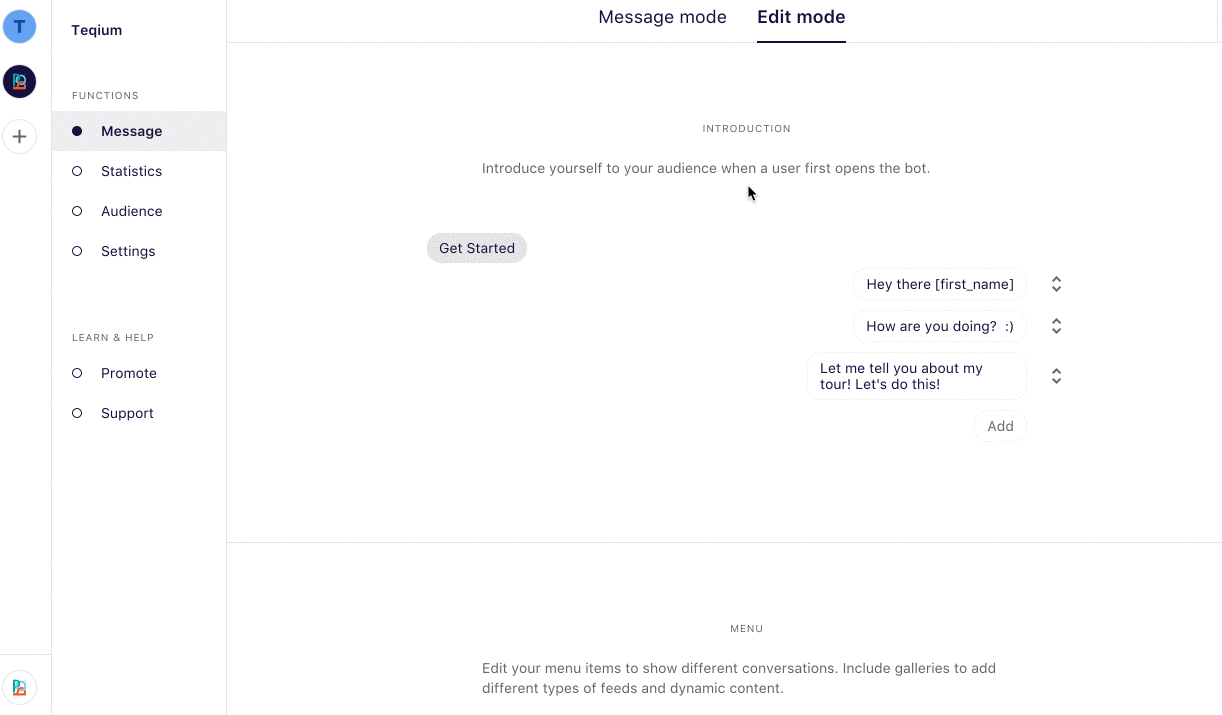
STEP 4— Manage Pages and Users
If you’re managing a brand’s bot, you might want to collaborate with other people on the bot. For that purpose you can invite users to take part in this.In the Settings page, you can connect/disconnect your FB page. From there you can manage the above mentioned users and invite new users with your personal unique POP url. In case you want to delete your bot, this is where you have the option to do so.
STEP 5— Share & Customize
Want to share your Messenger bot? Your own unique m.me short link lies in the Promote section.Or you can also choose from a selection of different FB Message Us buttons!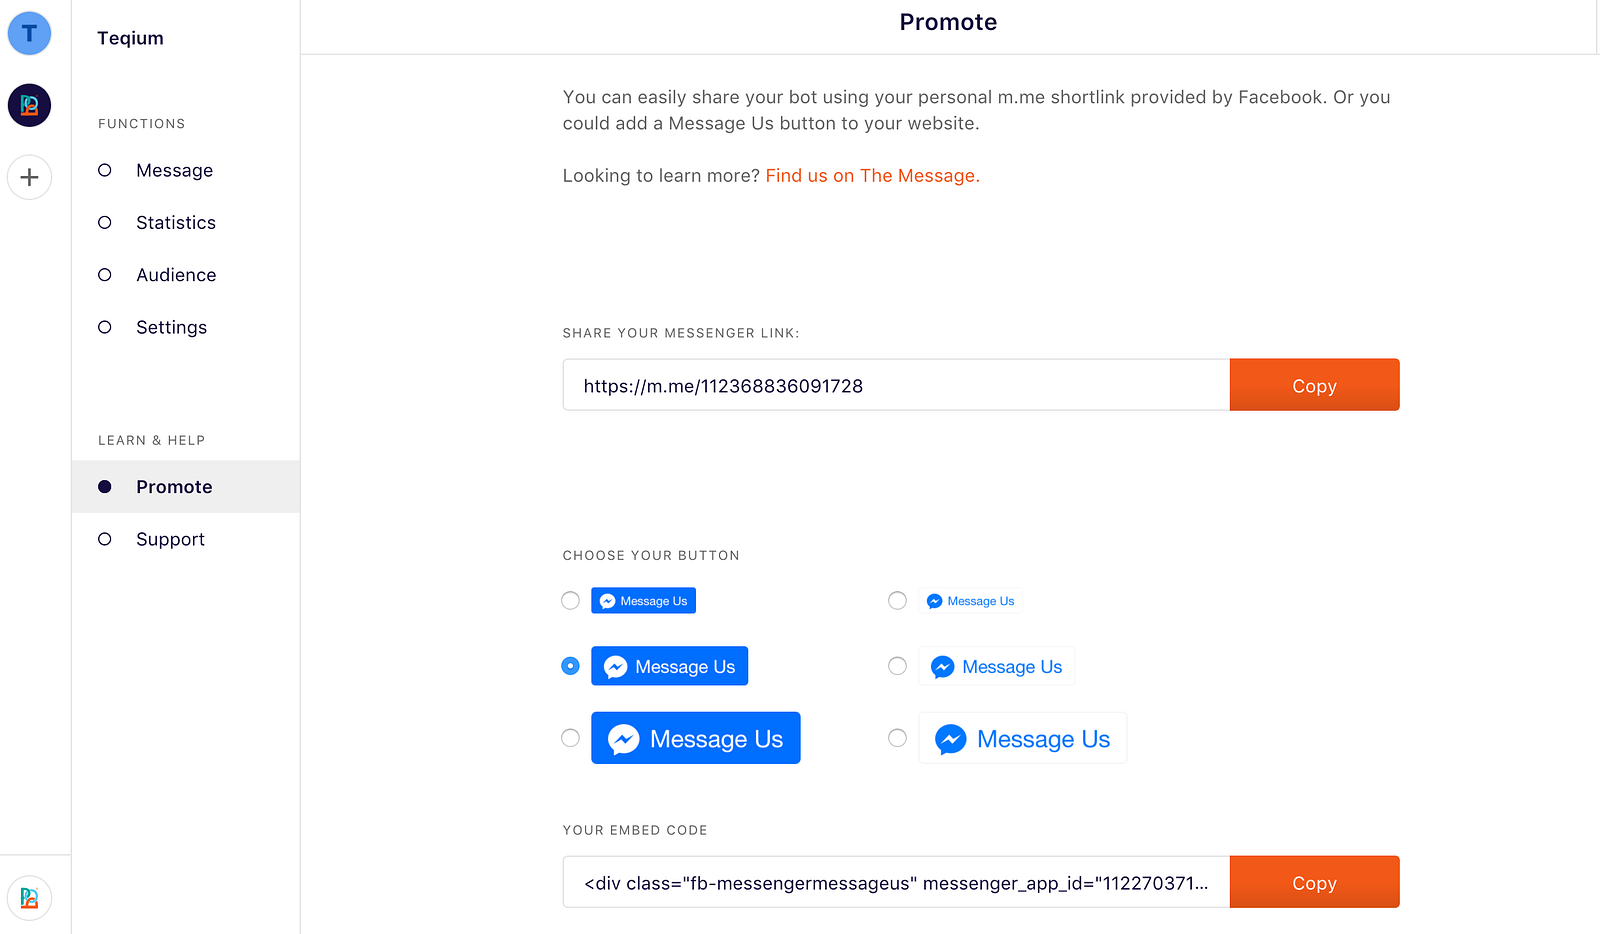
One last thing: Time to connect your bot to a FB page & test it!
We’re at the finish line. Almost done. The last thing you should do before your bot goes live (and starts fascinating your fans one by one, of course) is to test it in order to make sure everything is going to be smooth sailing from here on out! Just follow this detailed step-by-step guide on how to connect your FB page in order to test it:How do Facebook’s published and unpublished pages work?
Related articles